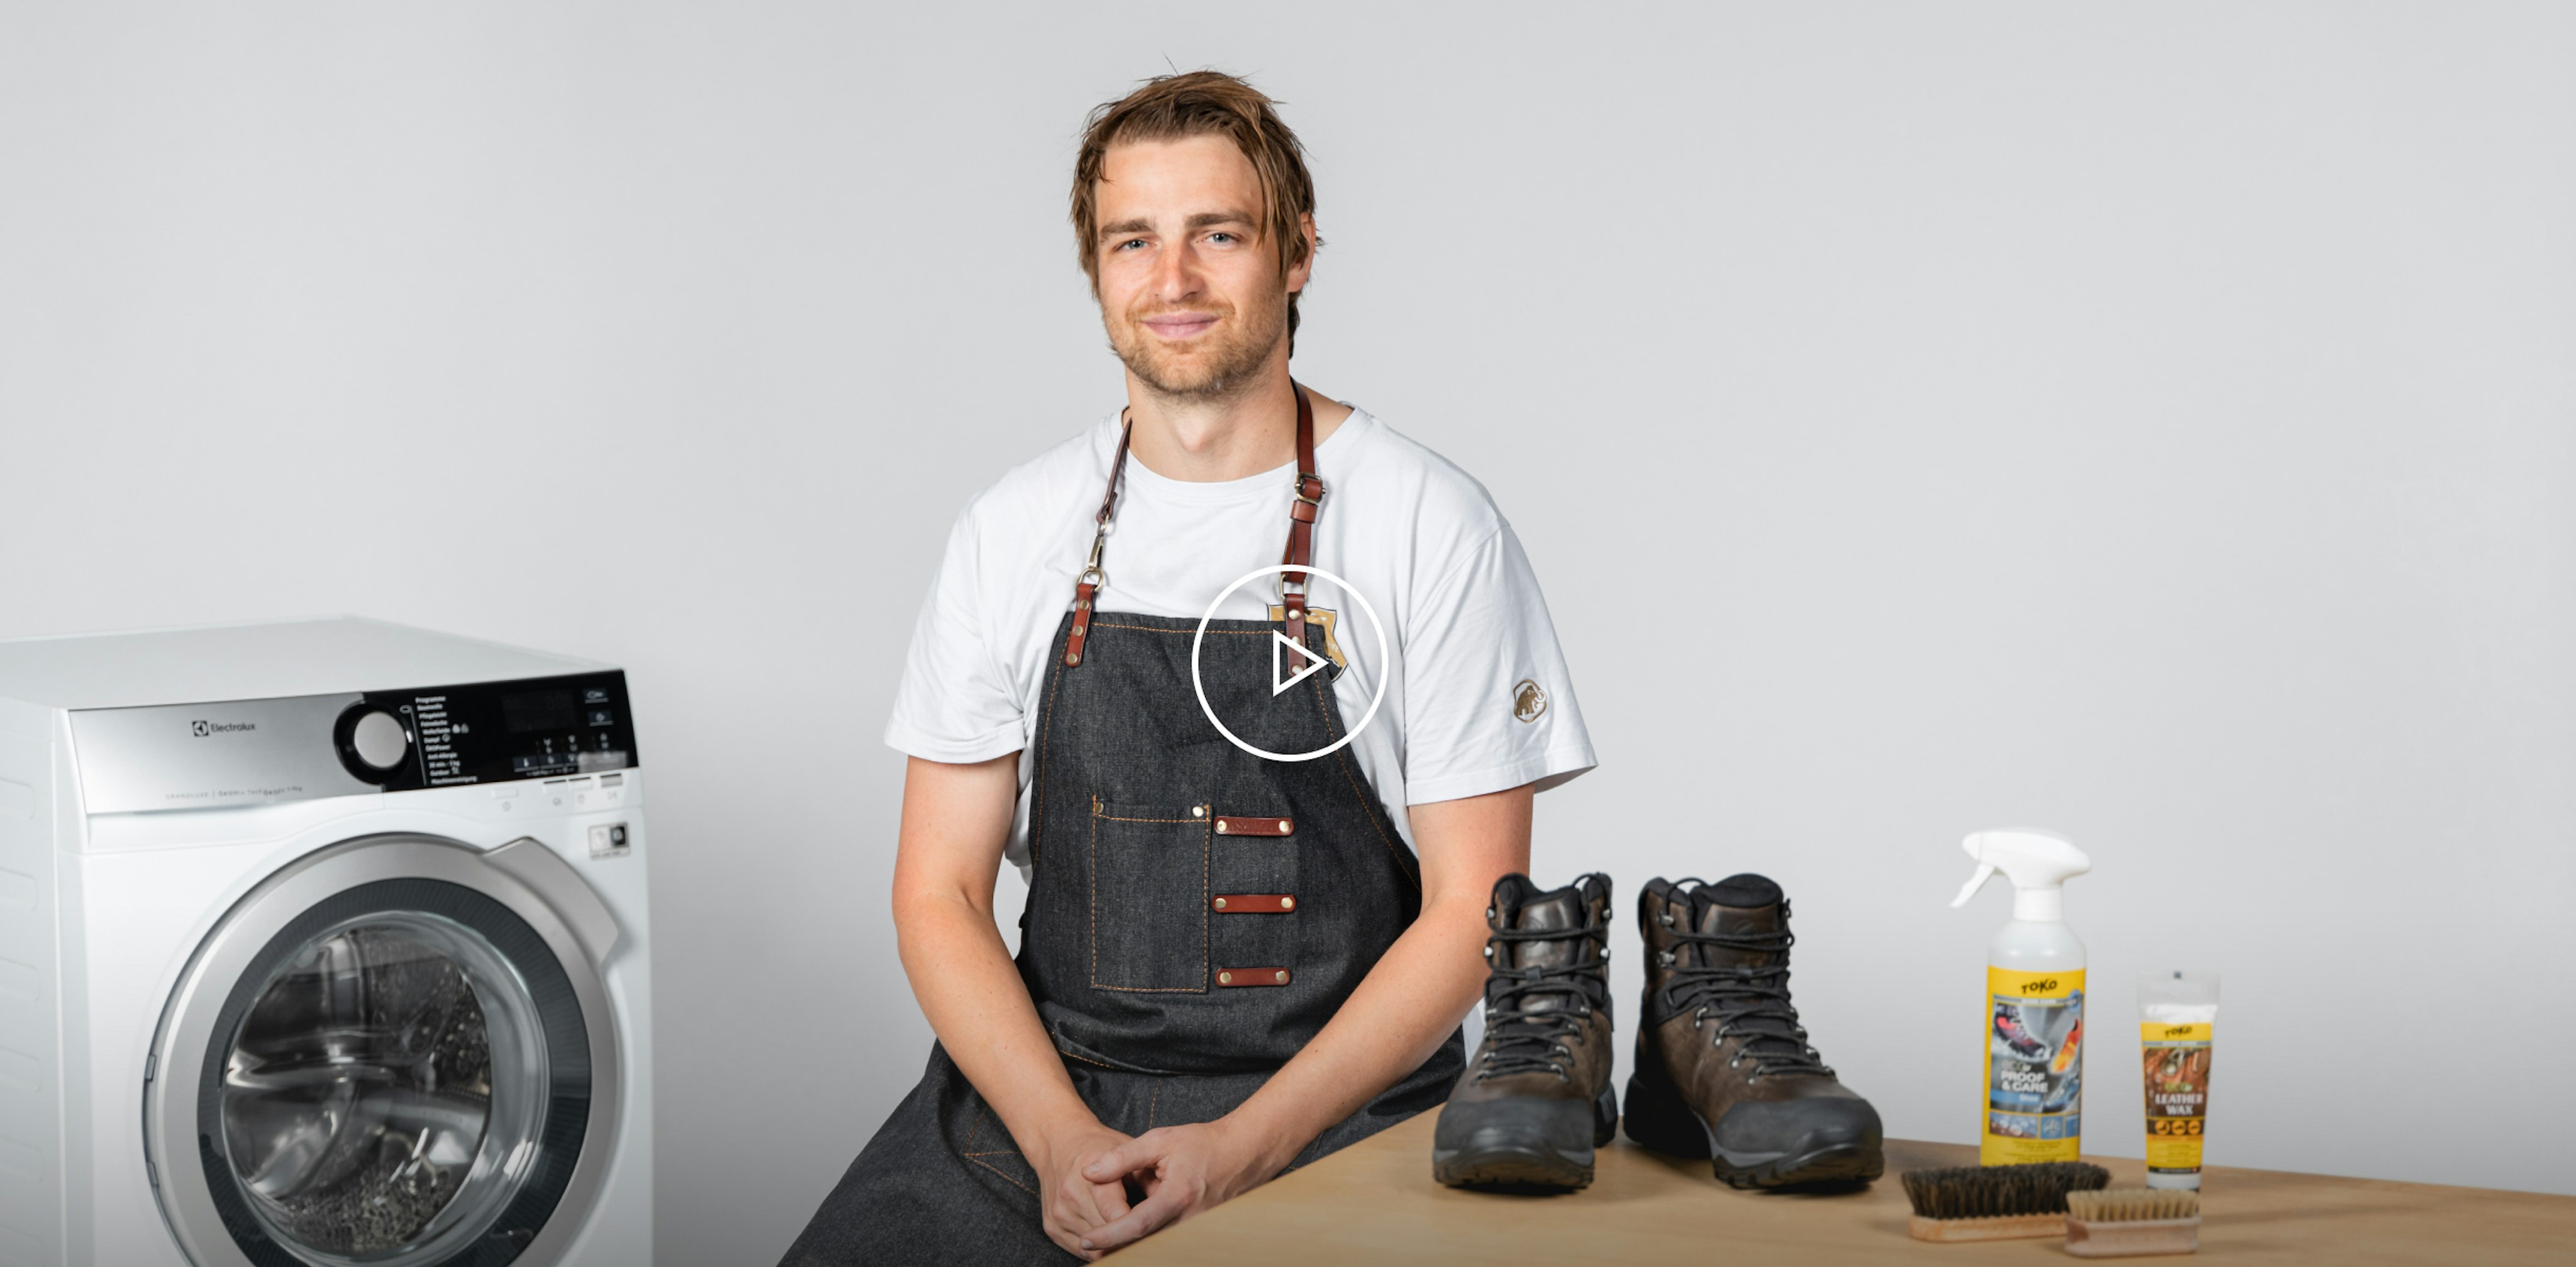
Outdoor shoes
Outdoor shoes. They are made to get dirty, keeping your feet dry, comfortable and clean no matter how wet, challenging and grimy your adventure may be. But, unless they are properly cared for, shoes may not last the distance you would hope. That’s why our expert team wanted to share with you their (literal) step-by-step guide to washing and caring for your outdoor shoes properly. Enjoy!
Care instructions: Washing and cleaning outdoor shoes
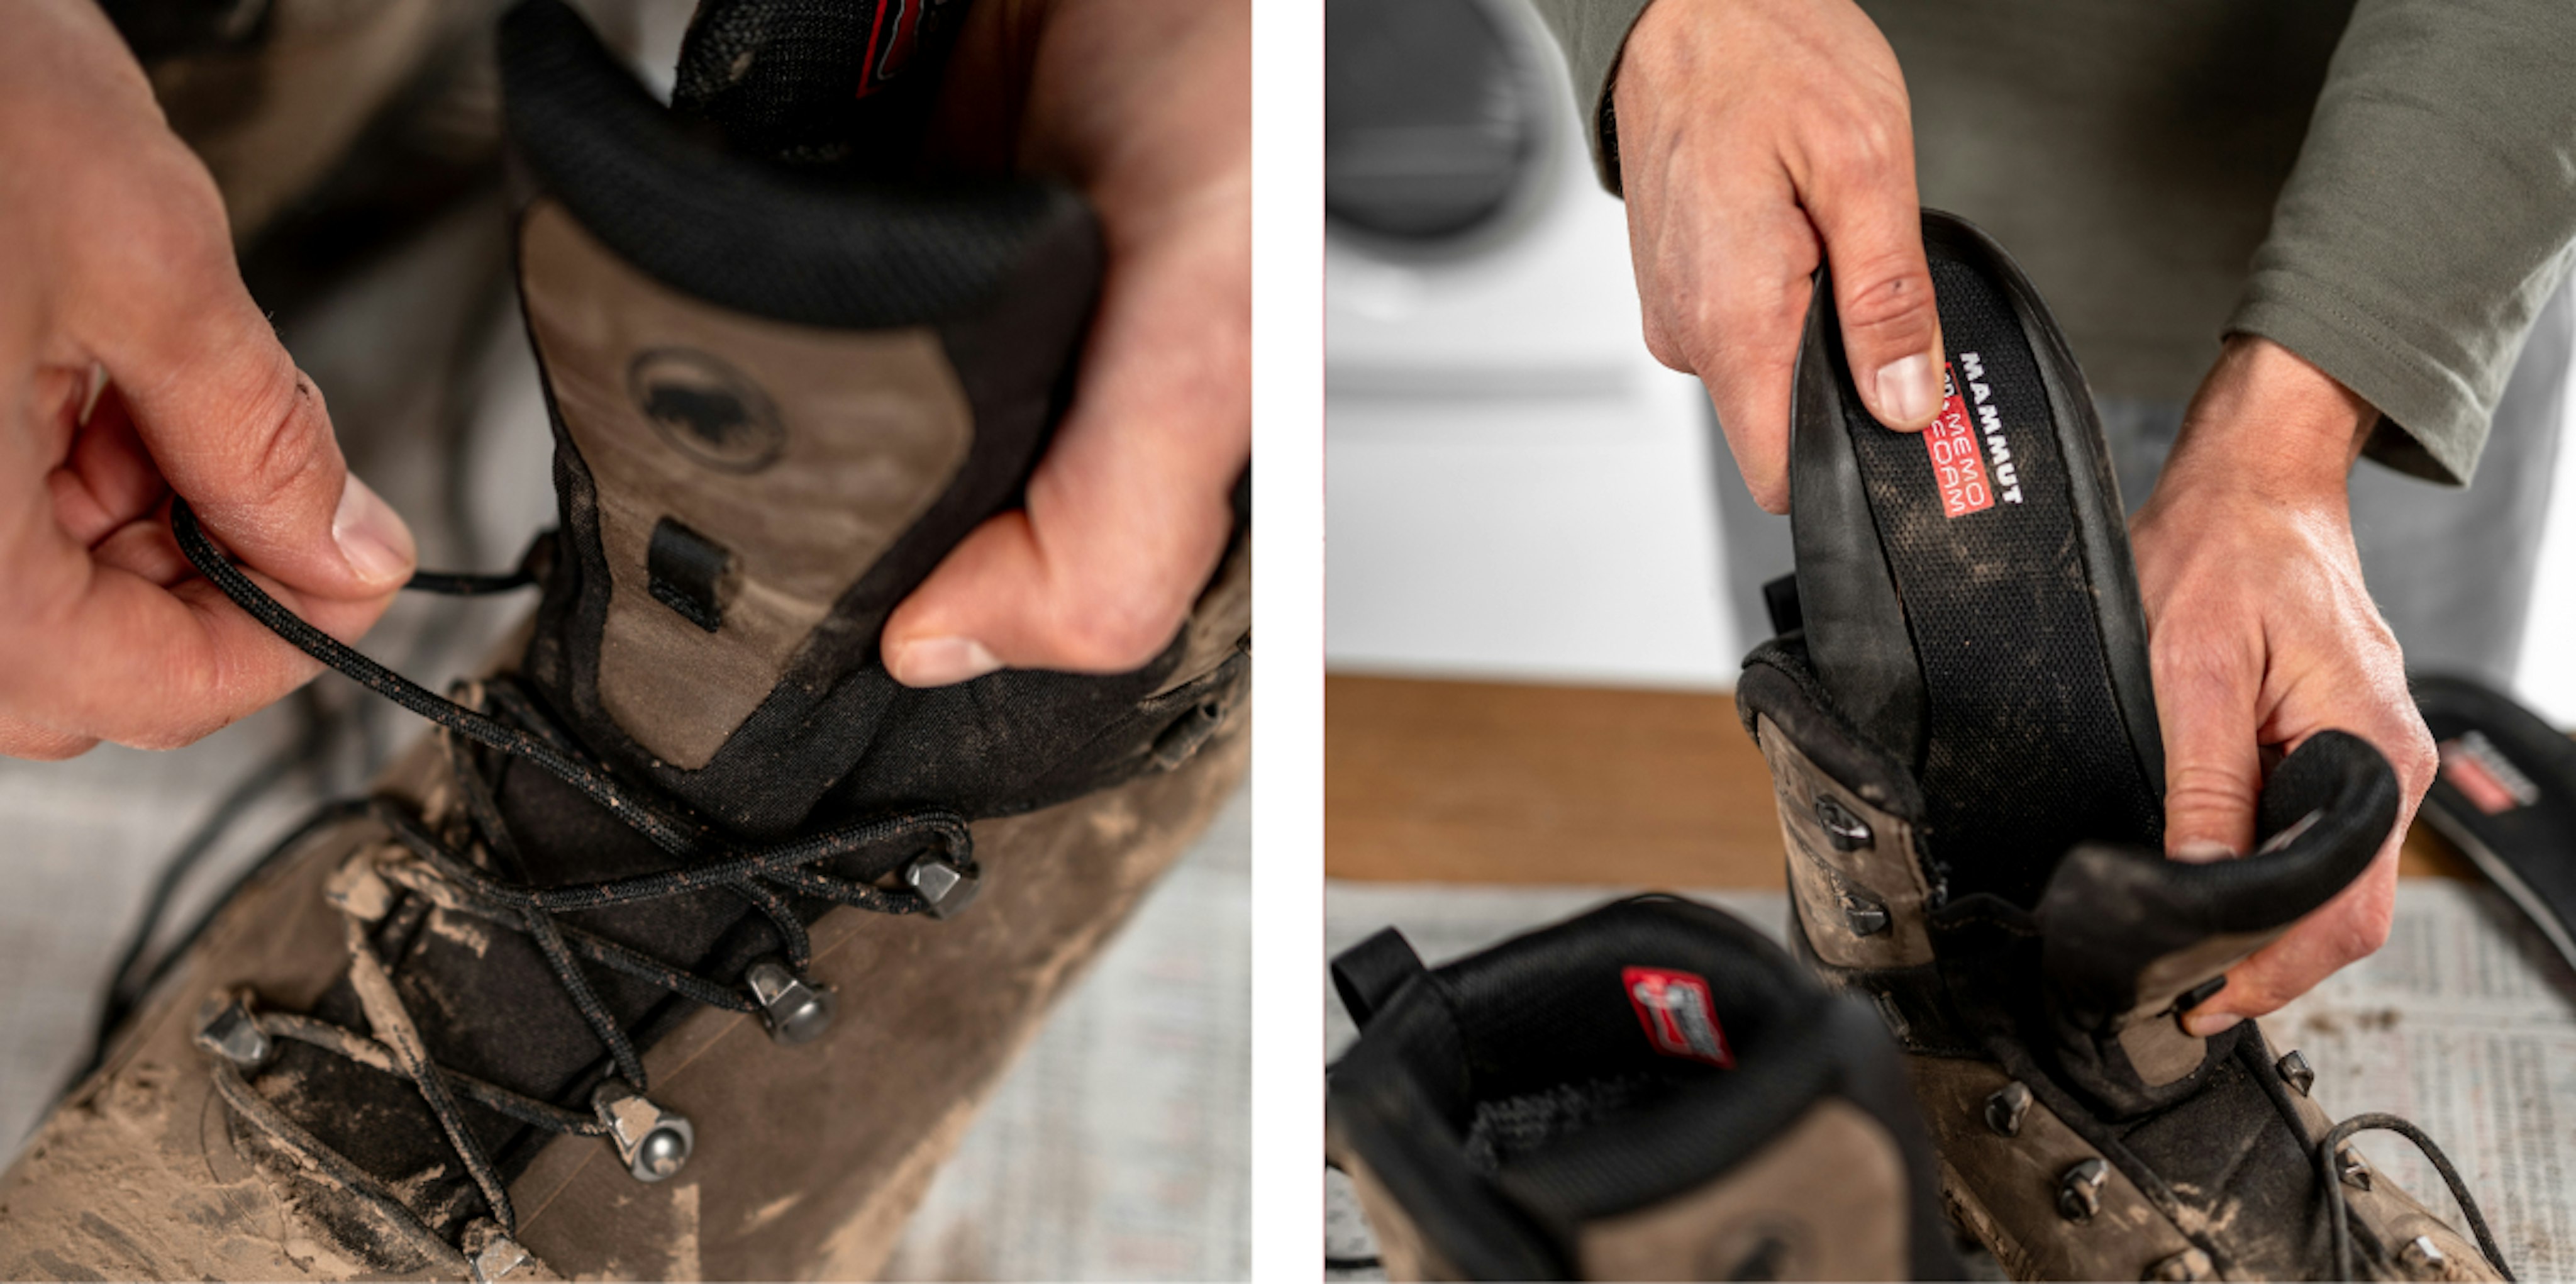
For our example, we will use a “typical” outdoor shoe that has two removable parts: the laces and the insole. To start with the cleaning, remove the laces and the insole from the main body of the shoe. These smaller parts can be thrown into a washing machine at 30° (wash cold 65-85F). We recommend tying the two ends of the laces together to form a single loop, as they can sometimes snake and get lost into the sides of washing machines. To dry, simply hang them on the line as you would any other piece of clothing – all easy so far.
Remember: machine washing is for laces and insoles. Shoe bodies themselves are best washed by hand. If the insole and/or laces are badly worn, you can purchase a replacement from a shoemaker or a specialist store.
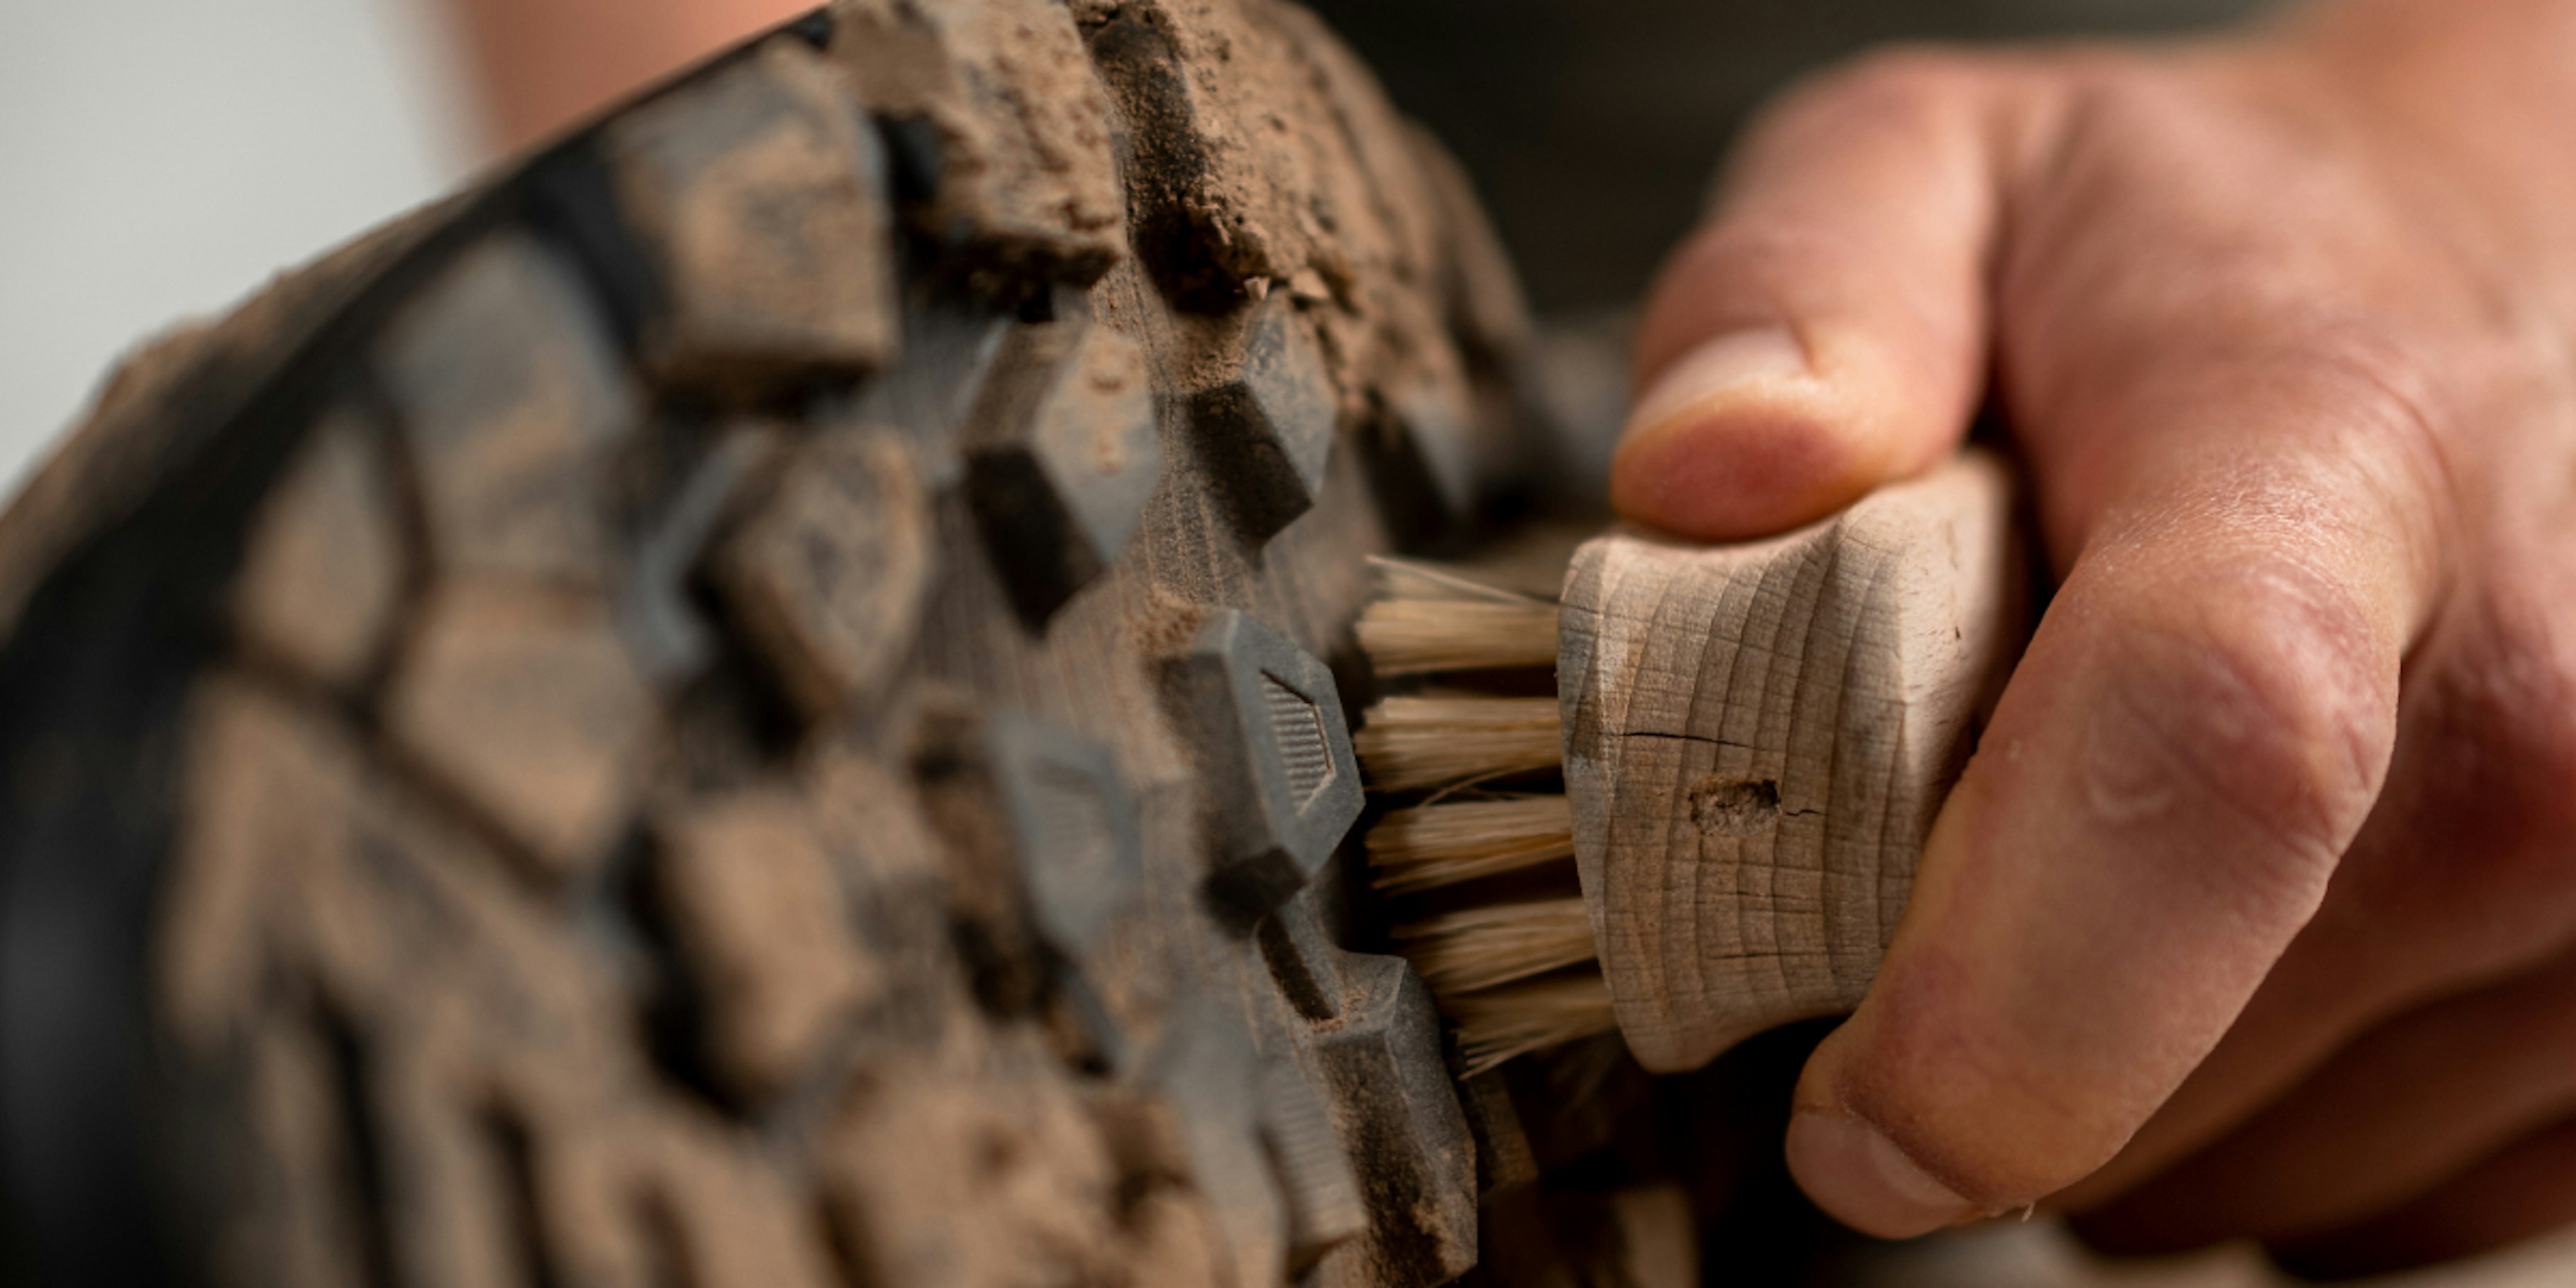
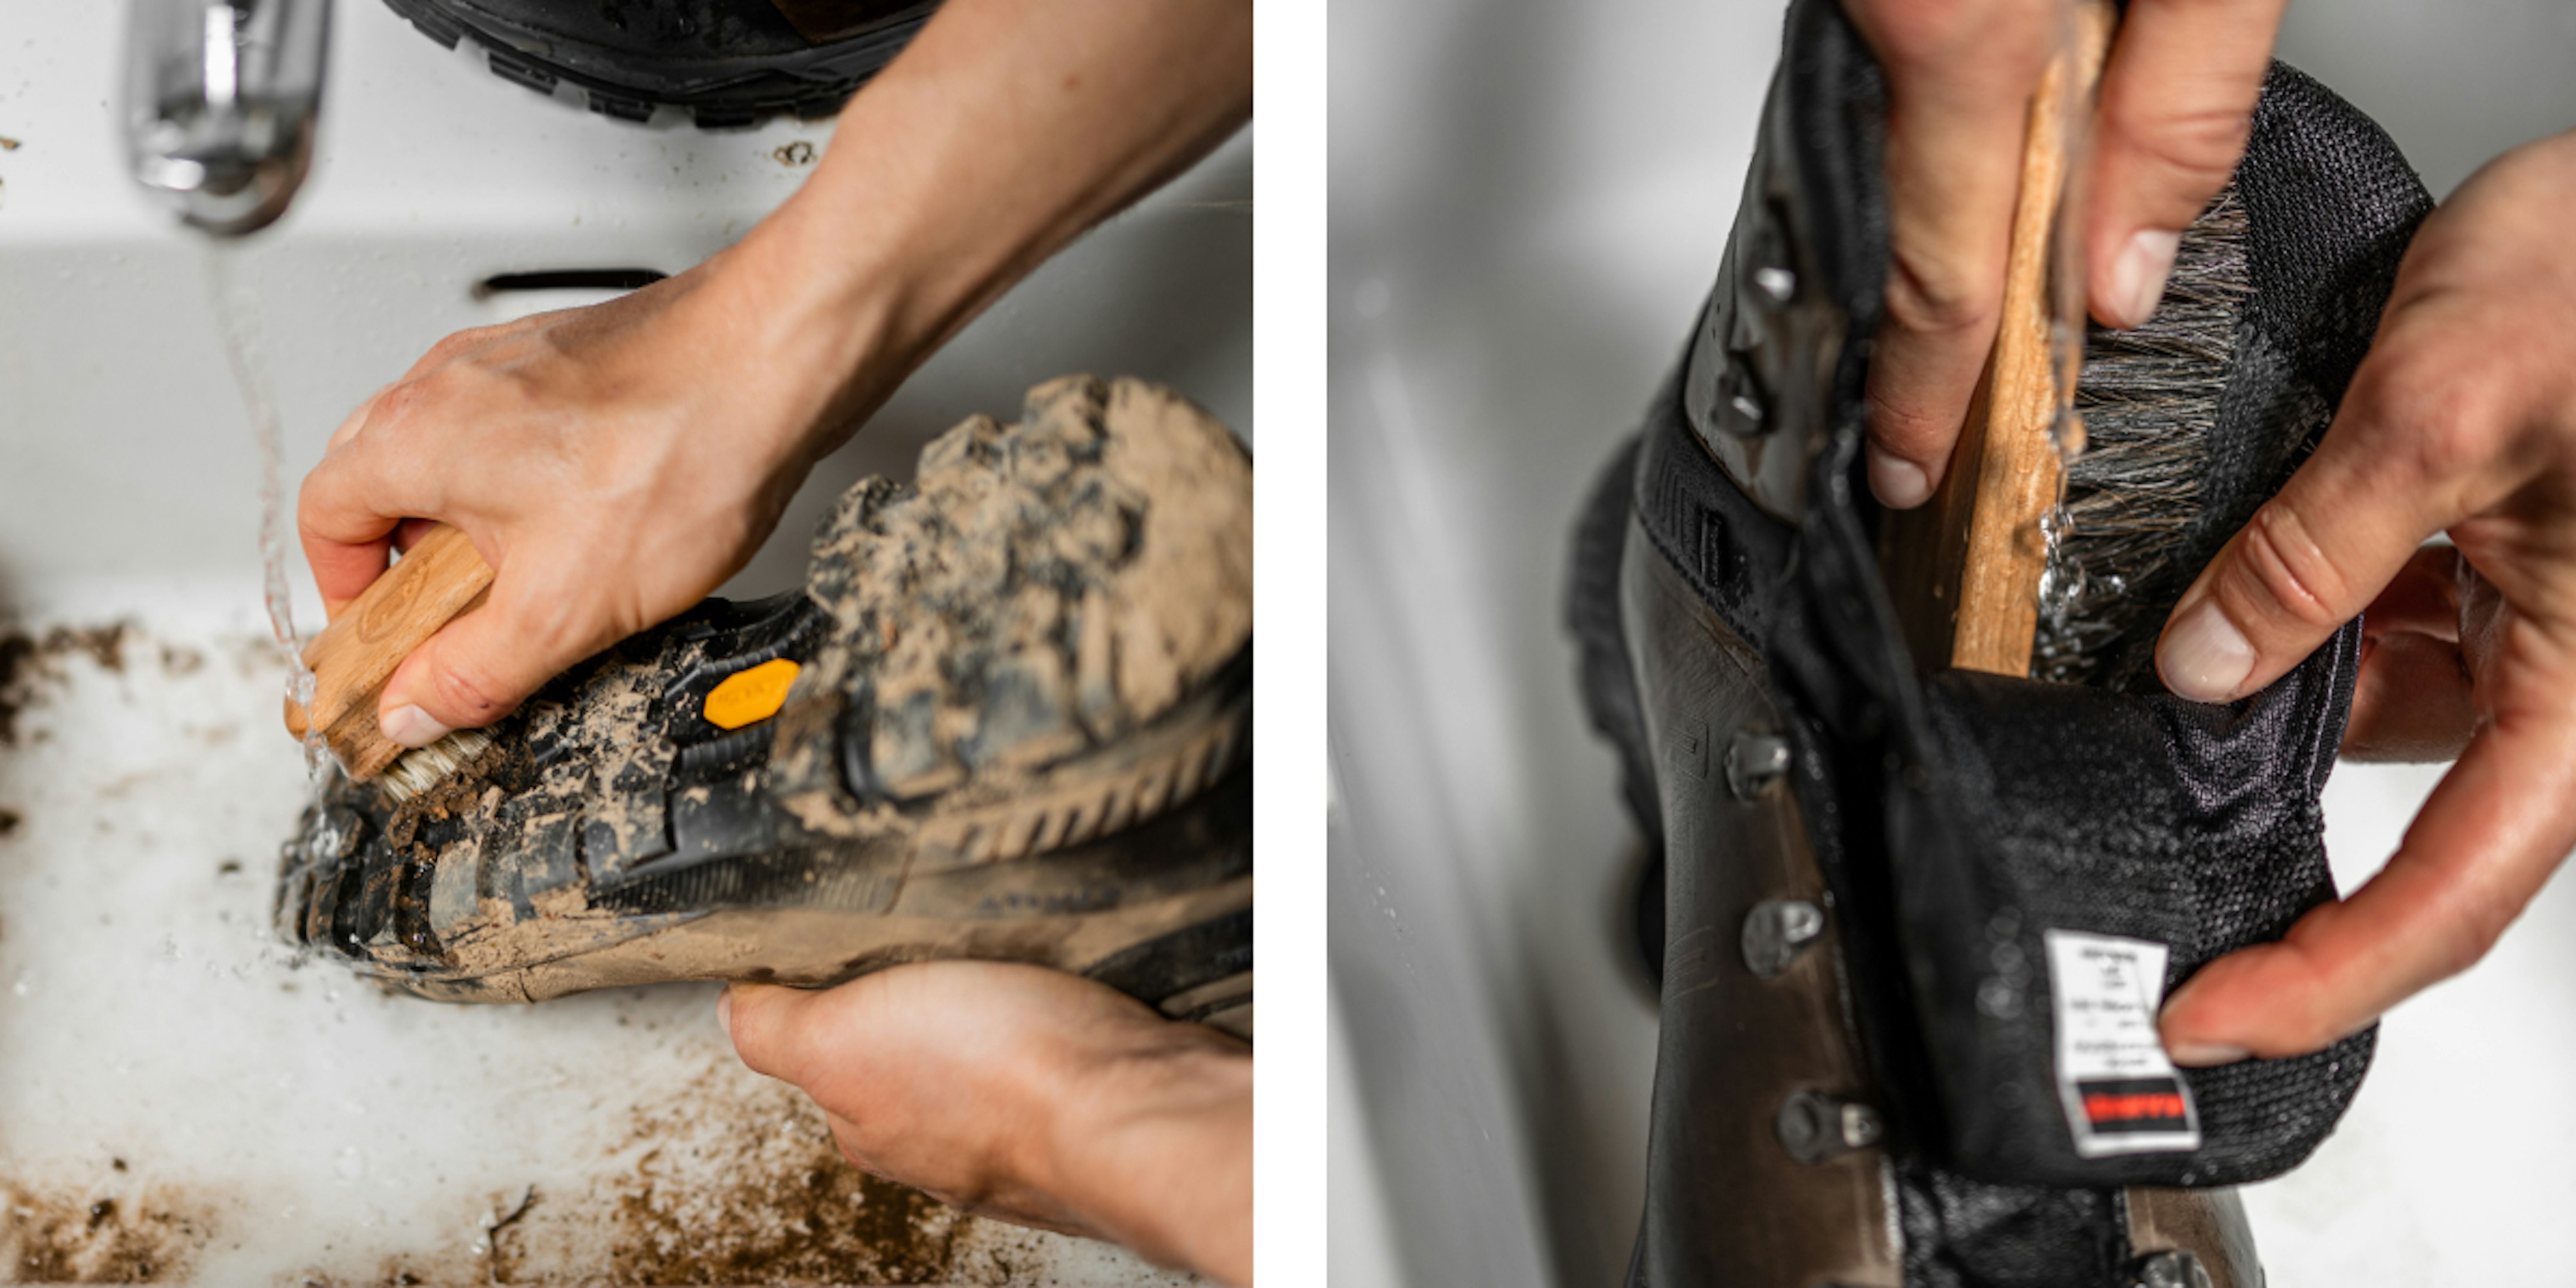
Washing shoes is a manual process. The main thing you need is a shoe brush and warm water. Dipping the brush in the water, scrub off the dirt and grime you can see with your eye. We recommend every so often clapping the shoes together so that any caked-on debris that may be hidden also is dislodged - think how soccer players clean their boots after a game. Then clean the shoe using running water. Don’t forget to clean the soles the same way.
When the outside of the shoe is clean, turn your attention inside the same way. Use the warm water to dislodge any dirt buildups and tap the shoe upside down to get them out. Cleaning in this way does not damage the lining of the shoe as many people believe but is the best way to make sure no build ups are happening that could, over time, wear through the shoe from the inside out. In the case of strong odor and extreme soiling, you can wash the inside of the shoe using water and a light detergent (sports detergent). Then rinse thoroughly to remove all residue.
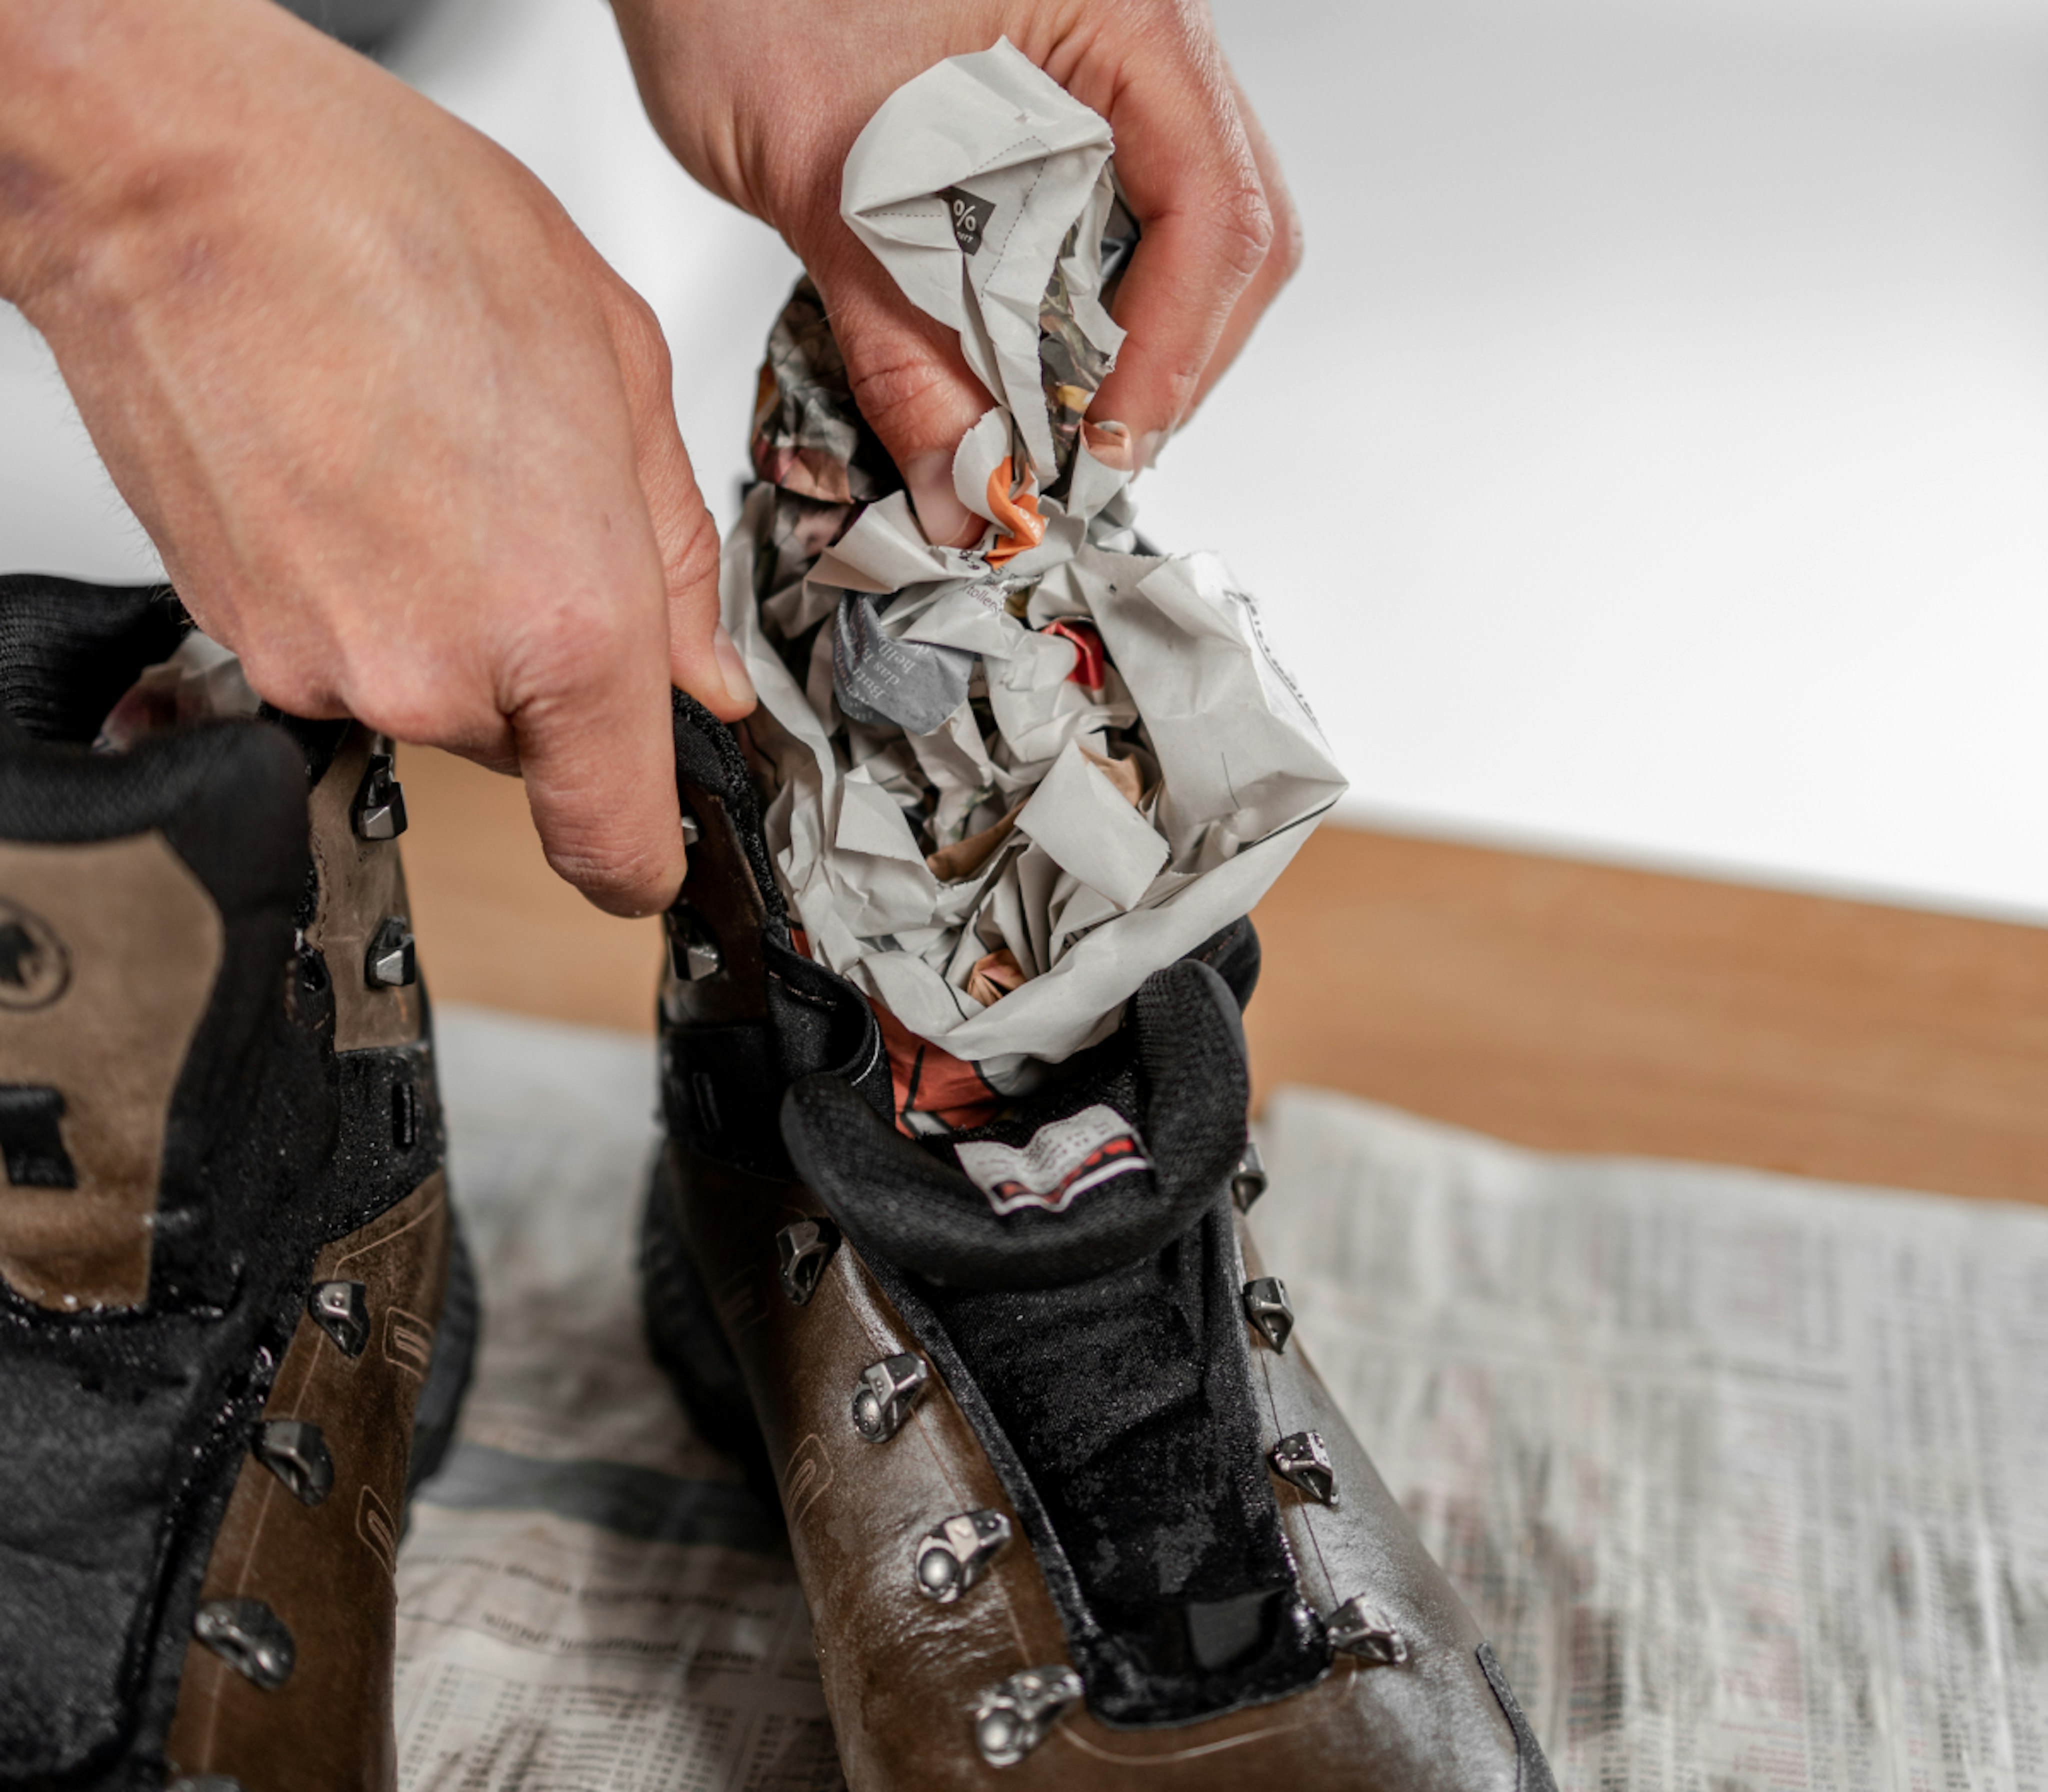
As far as cleaning goes, that’s it! Likely your shoes are now looking fantastic, however will be wet (especially on the inside). The best way to dry outdoor shoes is to stuff them with newspaper and leave them in the laundry room or similar space to dry upside down (with the opening face down) replacing the newspaper after a few hours to speed up the process. (In addition: when storing shoes after use, newspaper helps to prevent the formation of mold.)
Attention: Don’t speed up drying shoes by putting them on radiators or in the sun for example! Wait for them to dry themselves. Leather shoes may become brittle and cracks could start to appear. Other materials are reactivated by high temperatures: this could result in detachment of part of the upper and painful deformations.
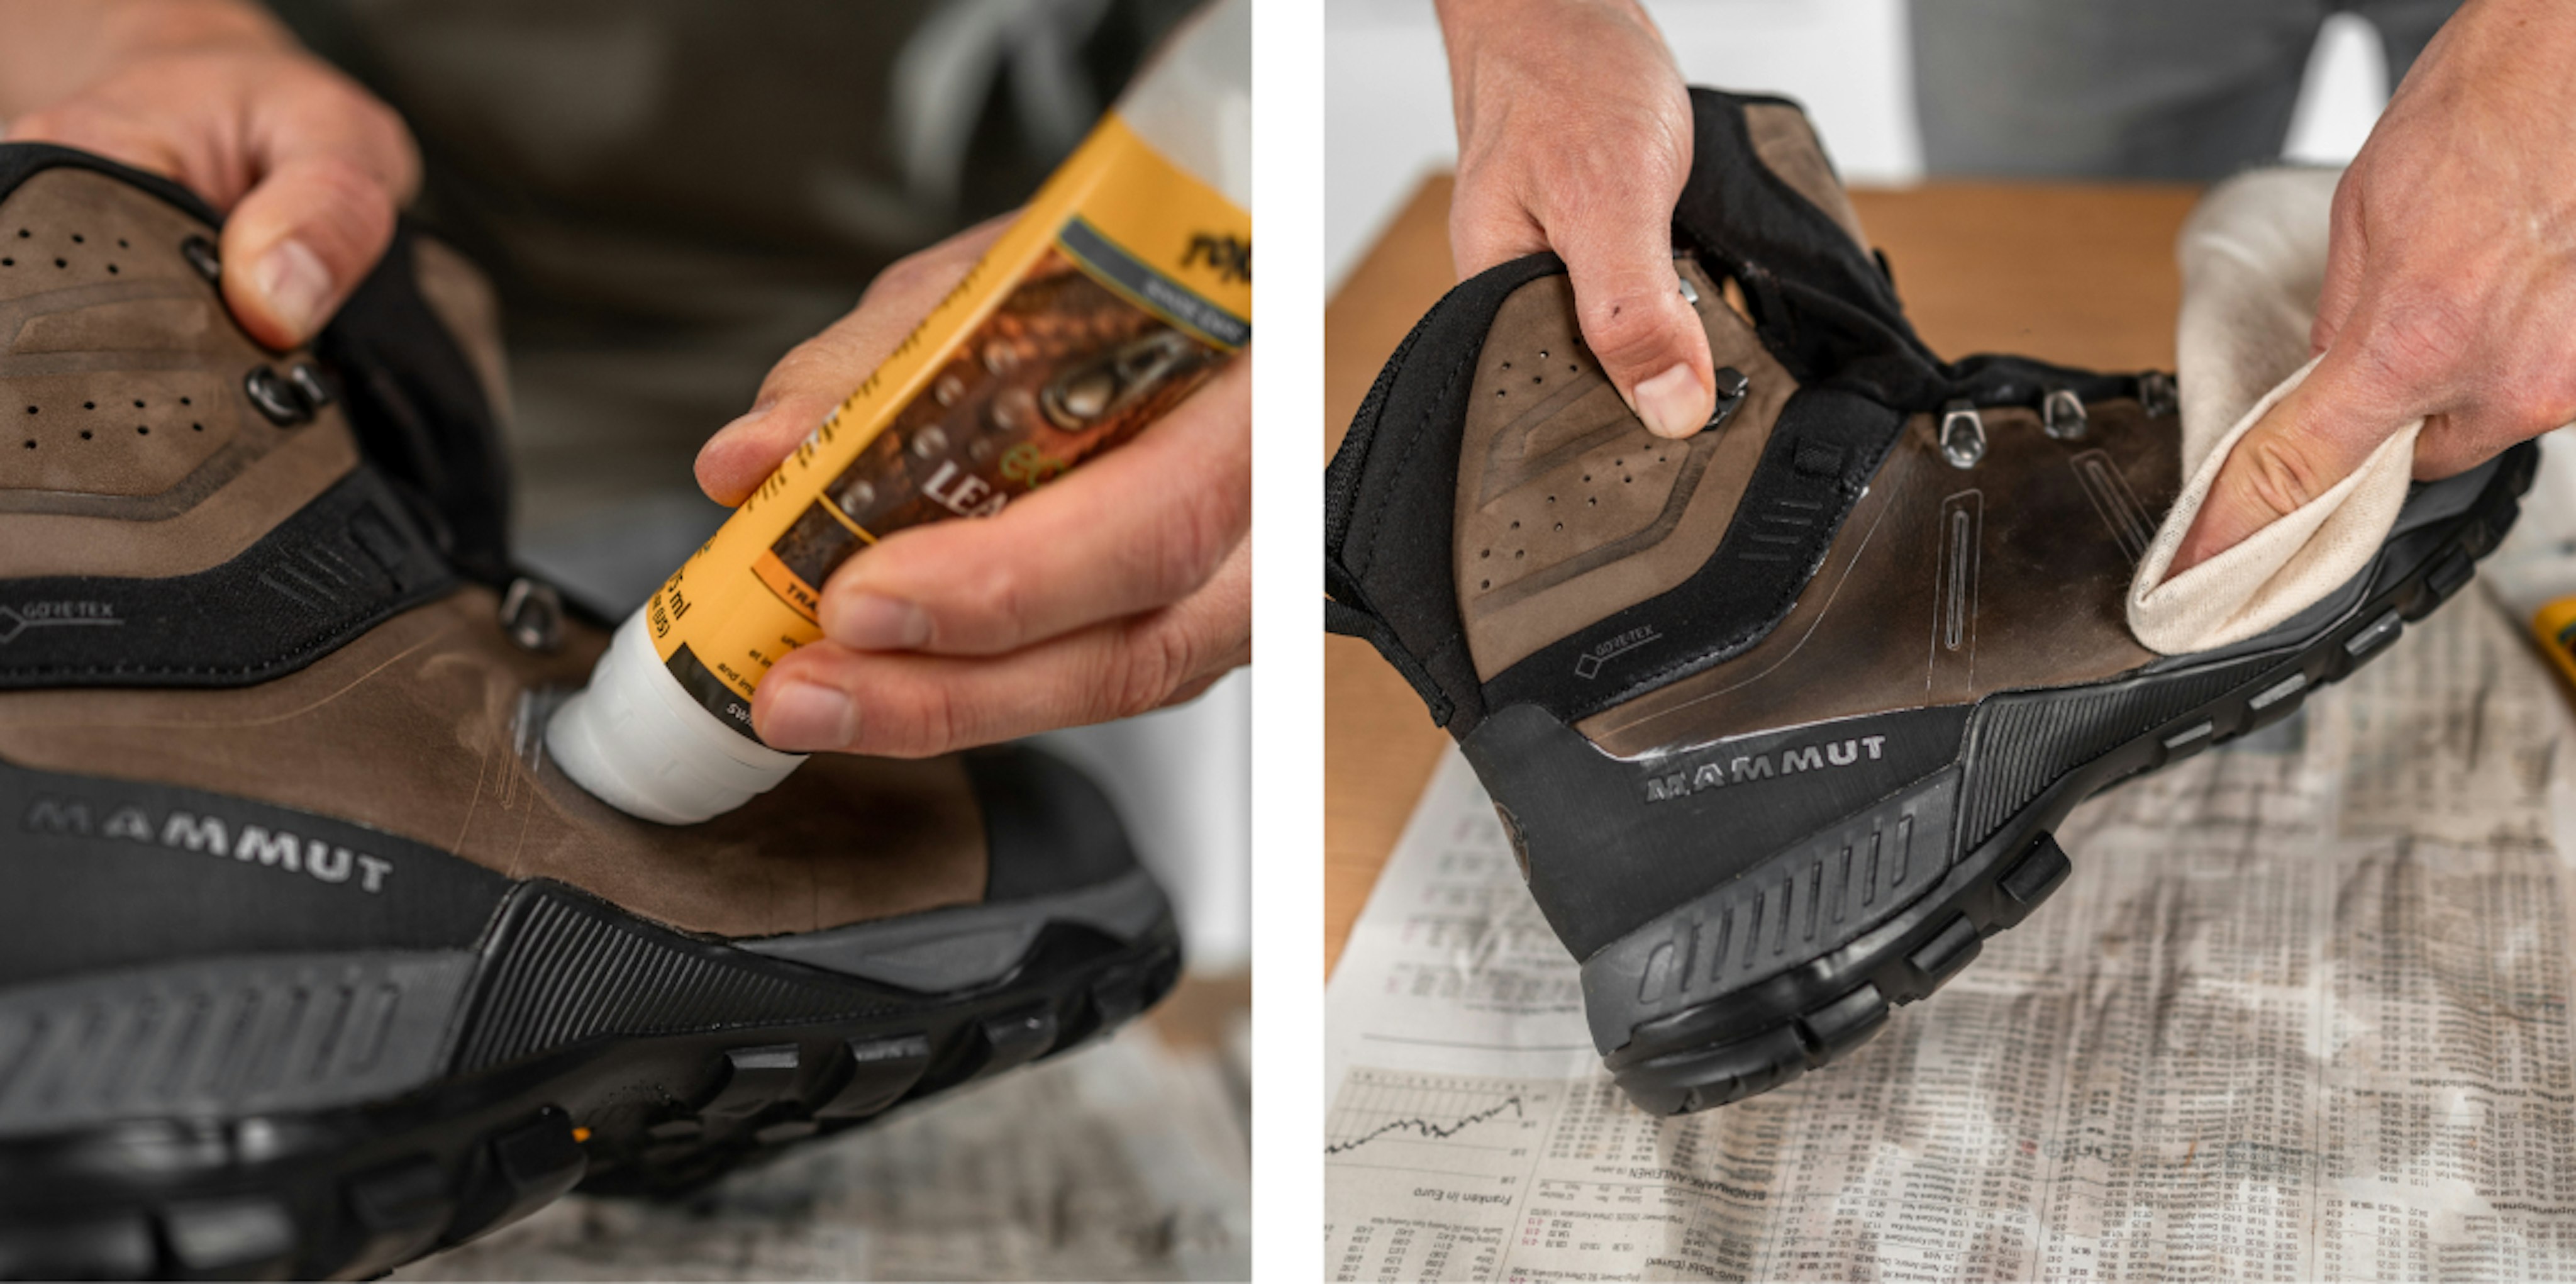
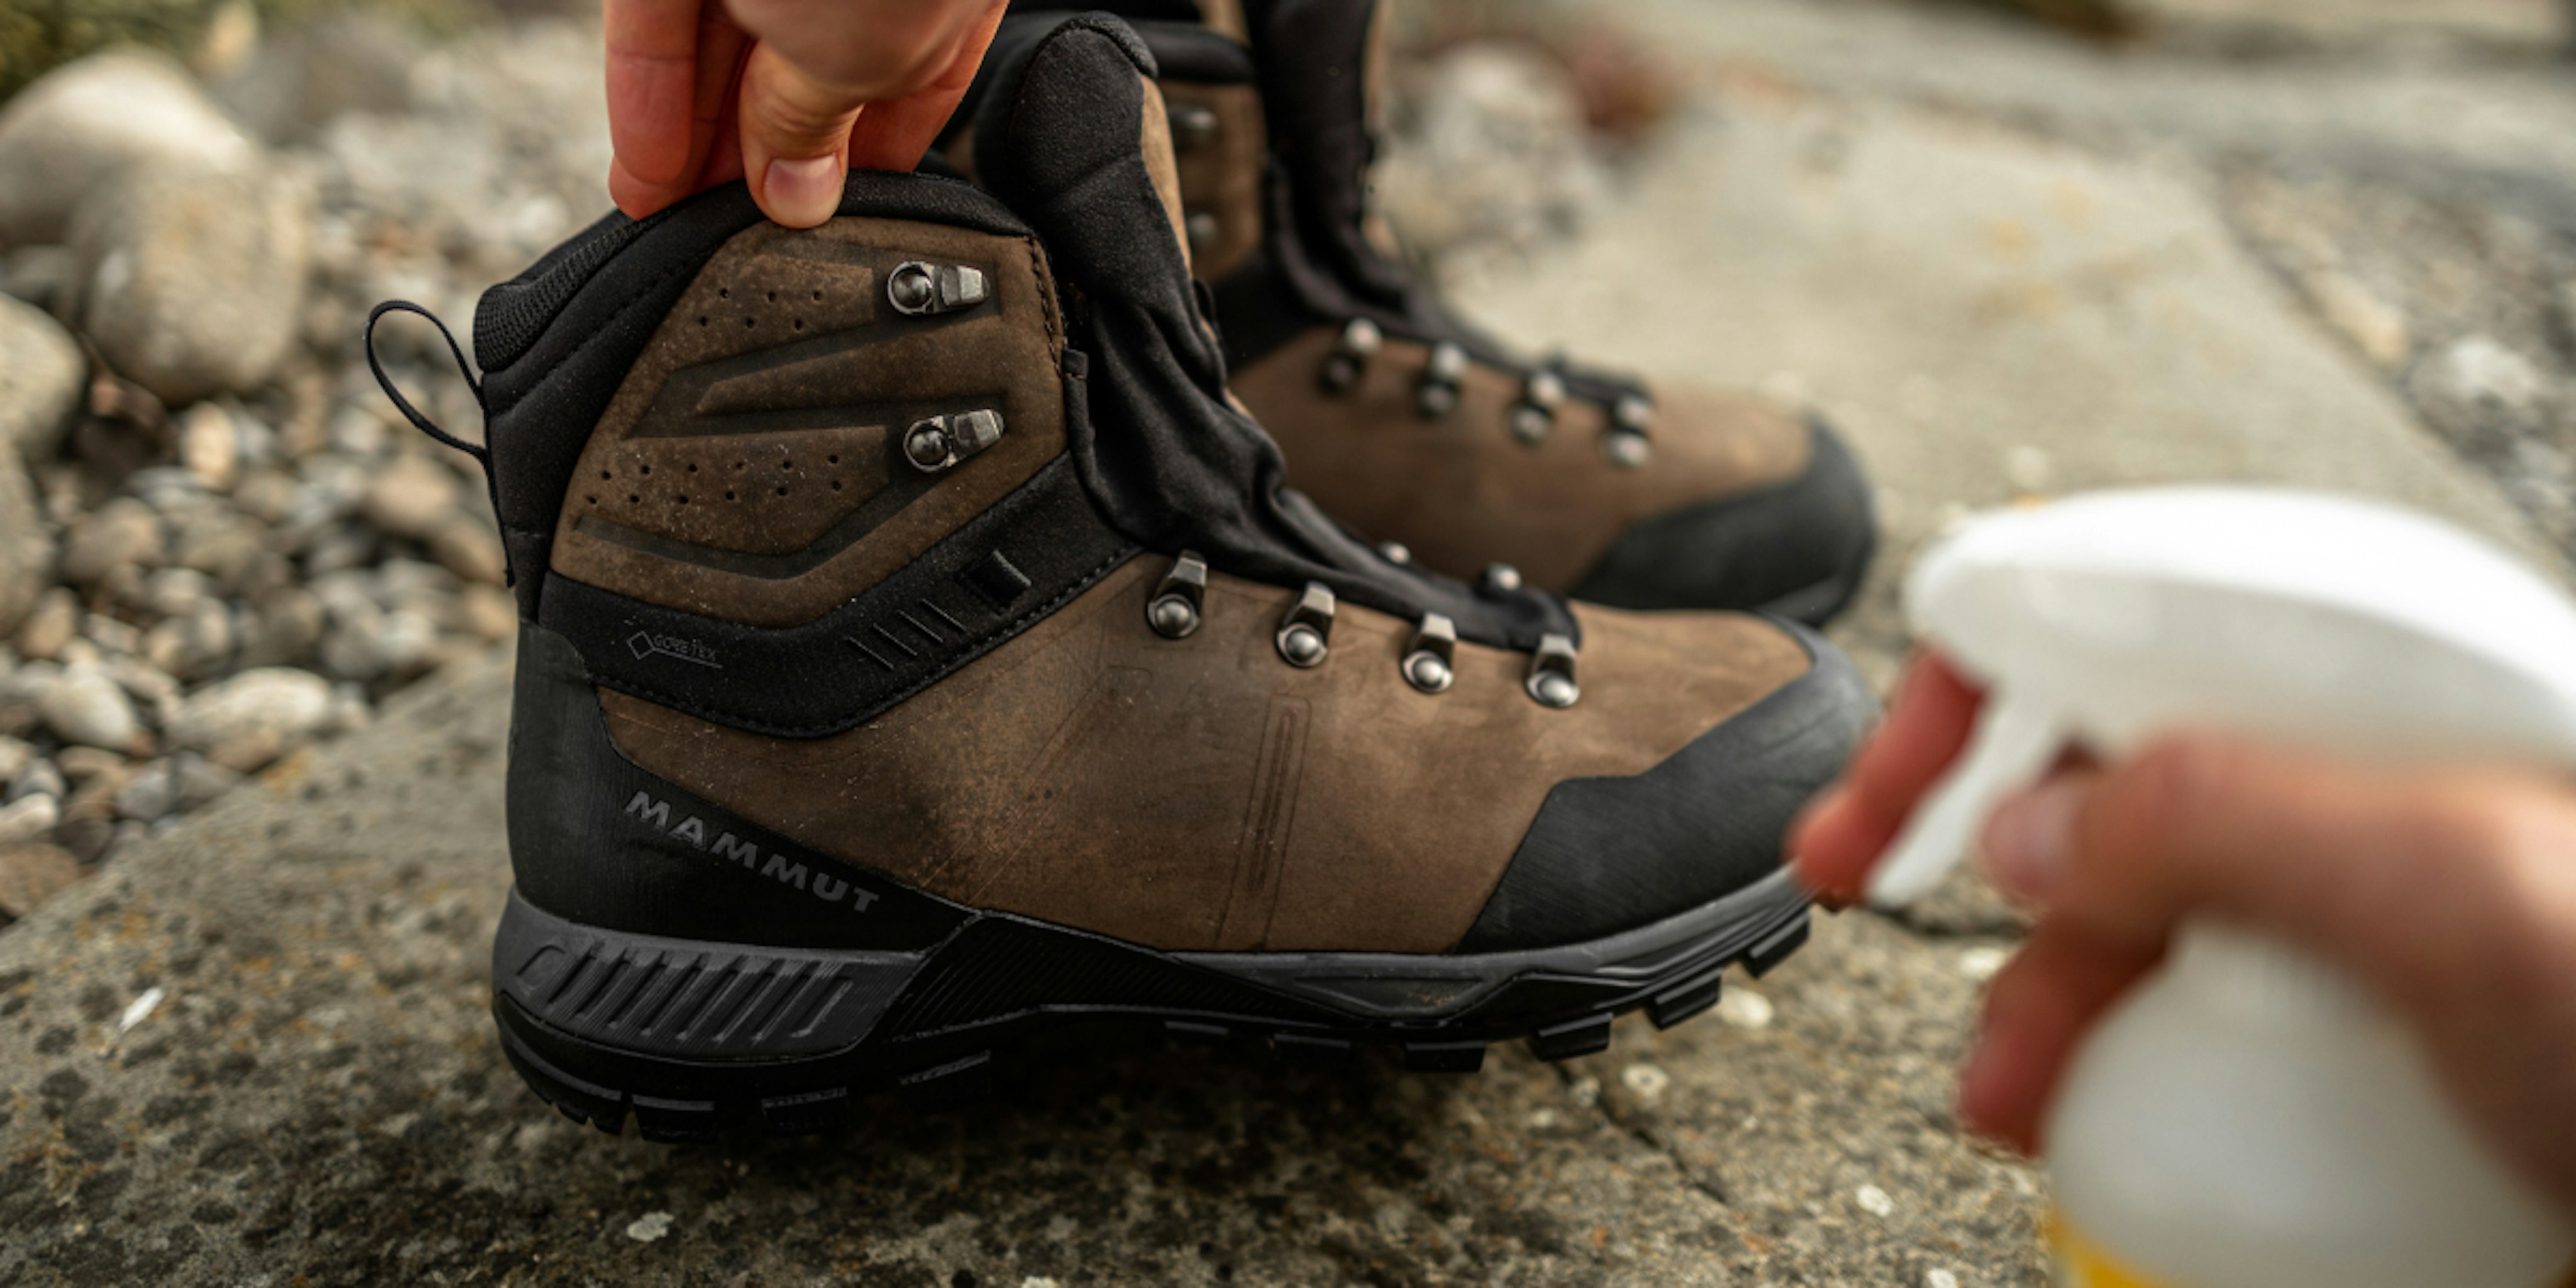
Always apply waterproofing treatments to shoes outdoors and follow the instructions shown on the product. We recommend an environmentally friendly water-based pump spray (available from outdoor stores), bearing in mind: The best time to apply a waterproofing treatment is a few hours after washing shoes, before they are completely dry. This is because with many shoe materials, the pores are still open and so better to penetrate with the waterproofing. Leave the shoes to dry for 24 hours.
An optional step but one we highly recommend is waxing of outdoor shoes made of leather. Always read the instructions before using the product. Use a sponge or cloth and apply liberally (including tongues). More frequent waterproofing is required for GORE-TEX® shoes and all models with textile edgings. In addition: wax changes the color and texture of shoes, making them darker and shiny. However, this is an advantage for the shoe. You can roughen velours or suede again using light sandpaper.
Once done, retie laces, insert the insole and revel in your now thoroughly cleaned and adventure-ready outdoor boots.