How to lace hiking boots: The perfect fit for every trail
11/26
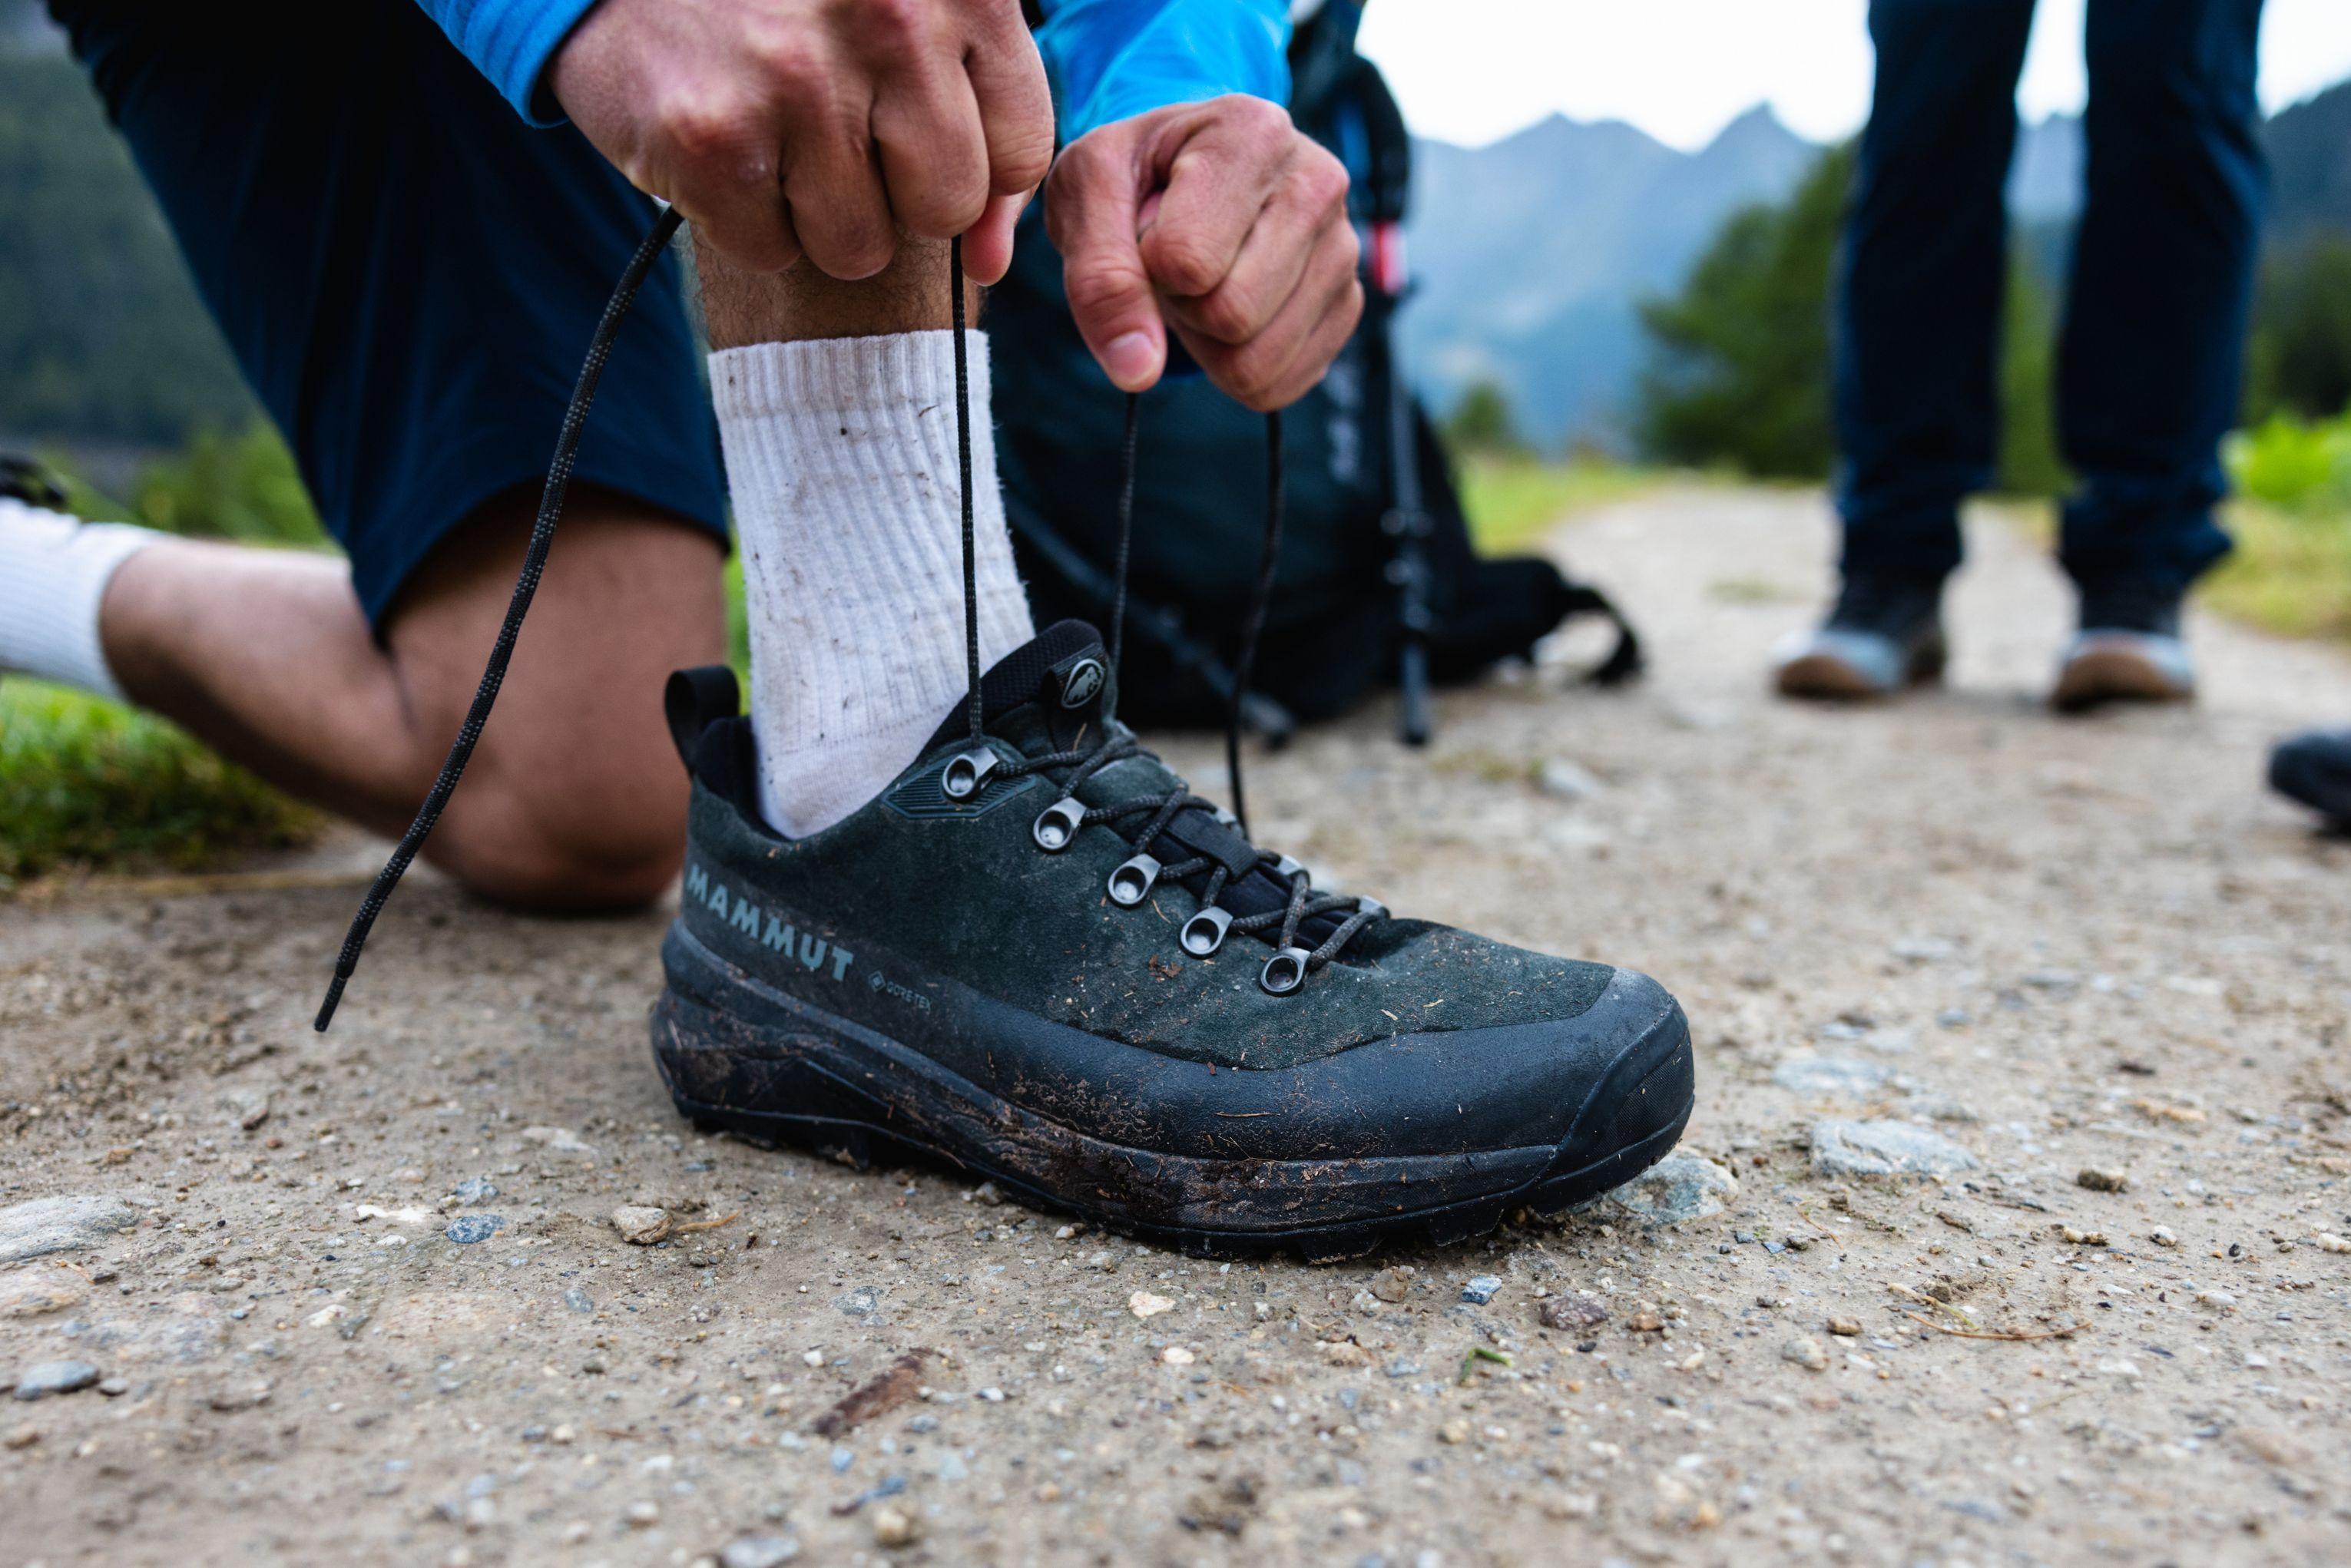
Hiking boots are among the most important companions along the trail. But even the best boot can only live up to its full potential when laced correctly. Many blisters, pressure points or aching toes aren’t caused by wrong footwear or socks, but by improper lacing. When lacing your hiking boots correctly, you will notice improvements in comfort as well as stability, traction, and control – especially on challenging terrain. Here's why proper lacing technique matters so much, what lacing methods are out there, and how to adjust your hiking boots to match the trail, terrain, and the shape of your foot.
Why the right lacing technique matters
Correct lacing keeps your foot sitting securely in the boot without feeling constricted. Hiking puts a range of forces on your feet and joints: uphill, your foot slides backward; downhill, it slides forward; on traverses, it shifts sideways. If the boot is laced too loosely, you lose support while the risk of blisters increases – if it is laced too tightly, you may develop pressure points and circulation issues even after breaking in your hiking boots .
Proper lacing helps you:
to prevent blisters and chafing
to reduce pressure on toes and the instep
to provide better heel hold
to improve power transfer on uneven ground
to reduce fatigue in your feet and joints
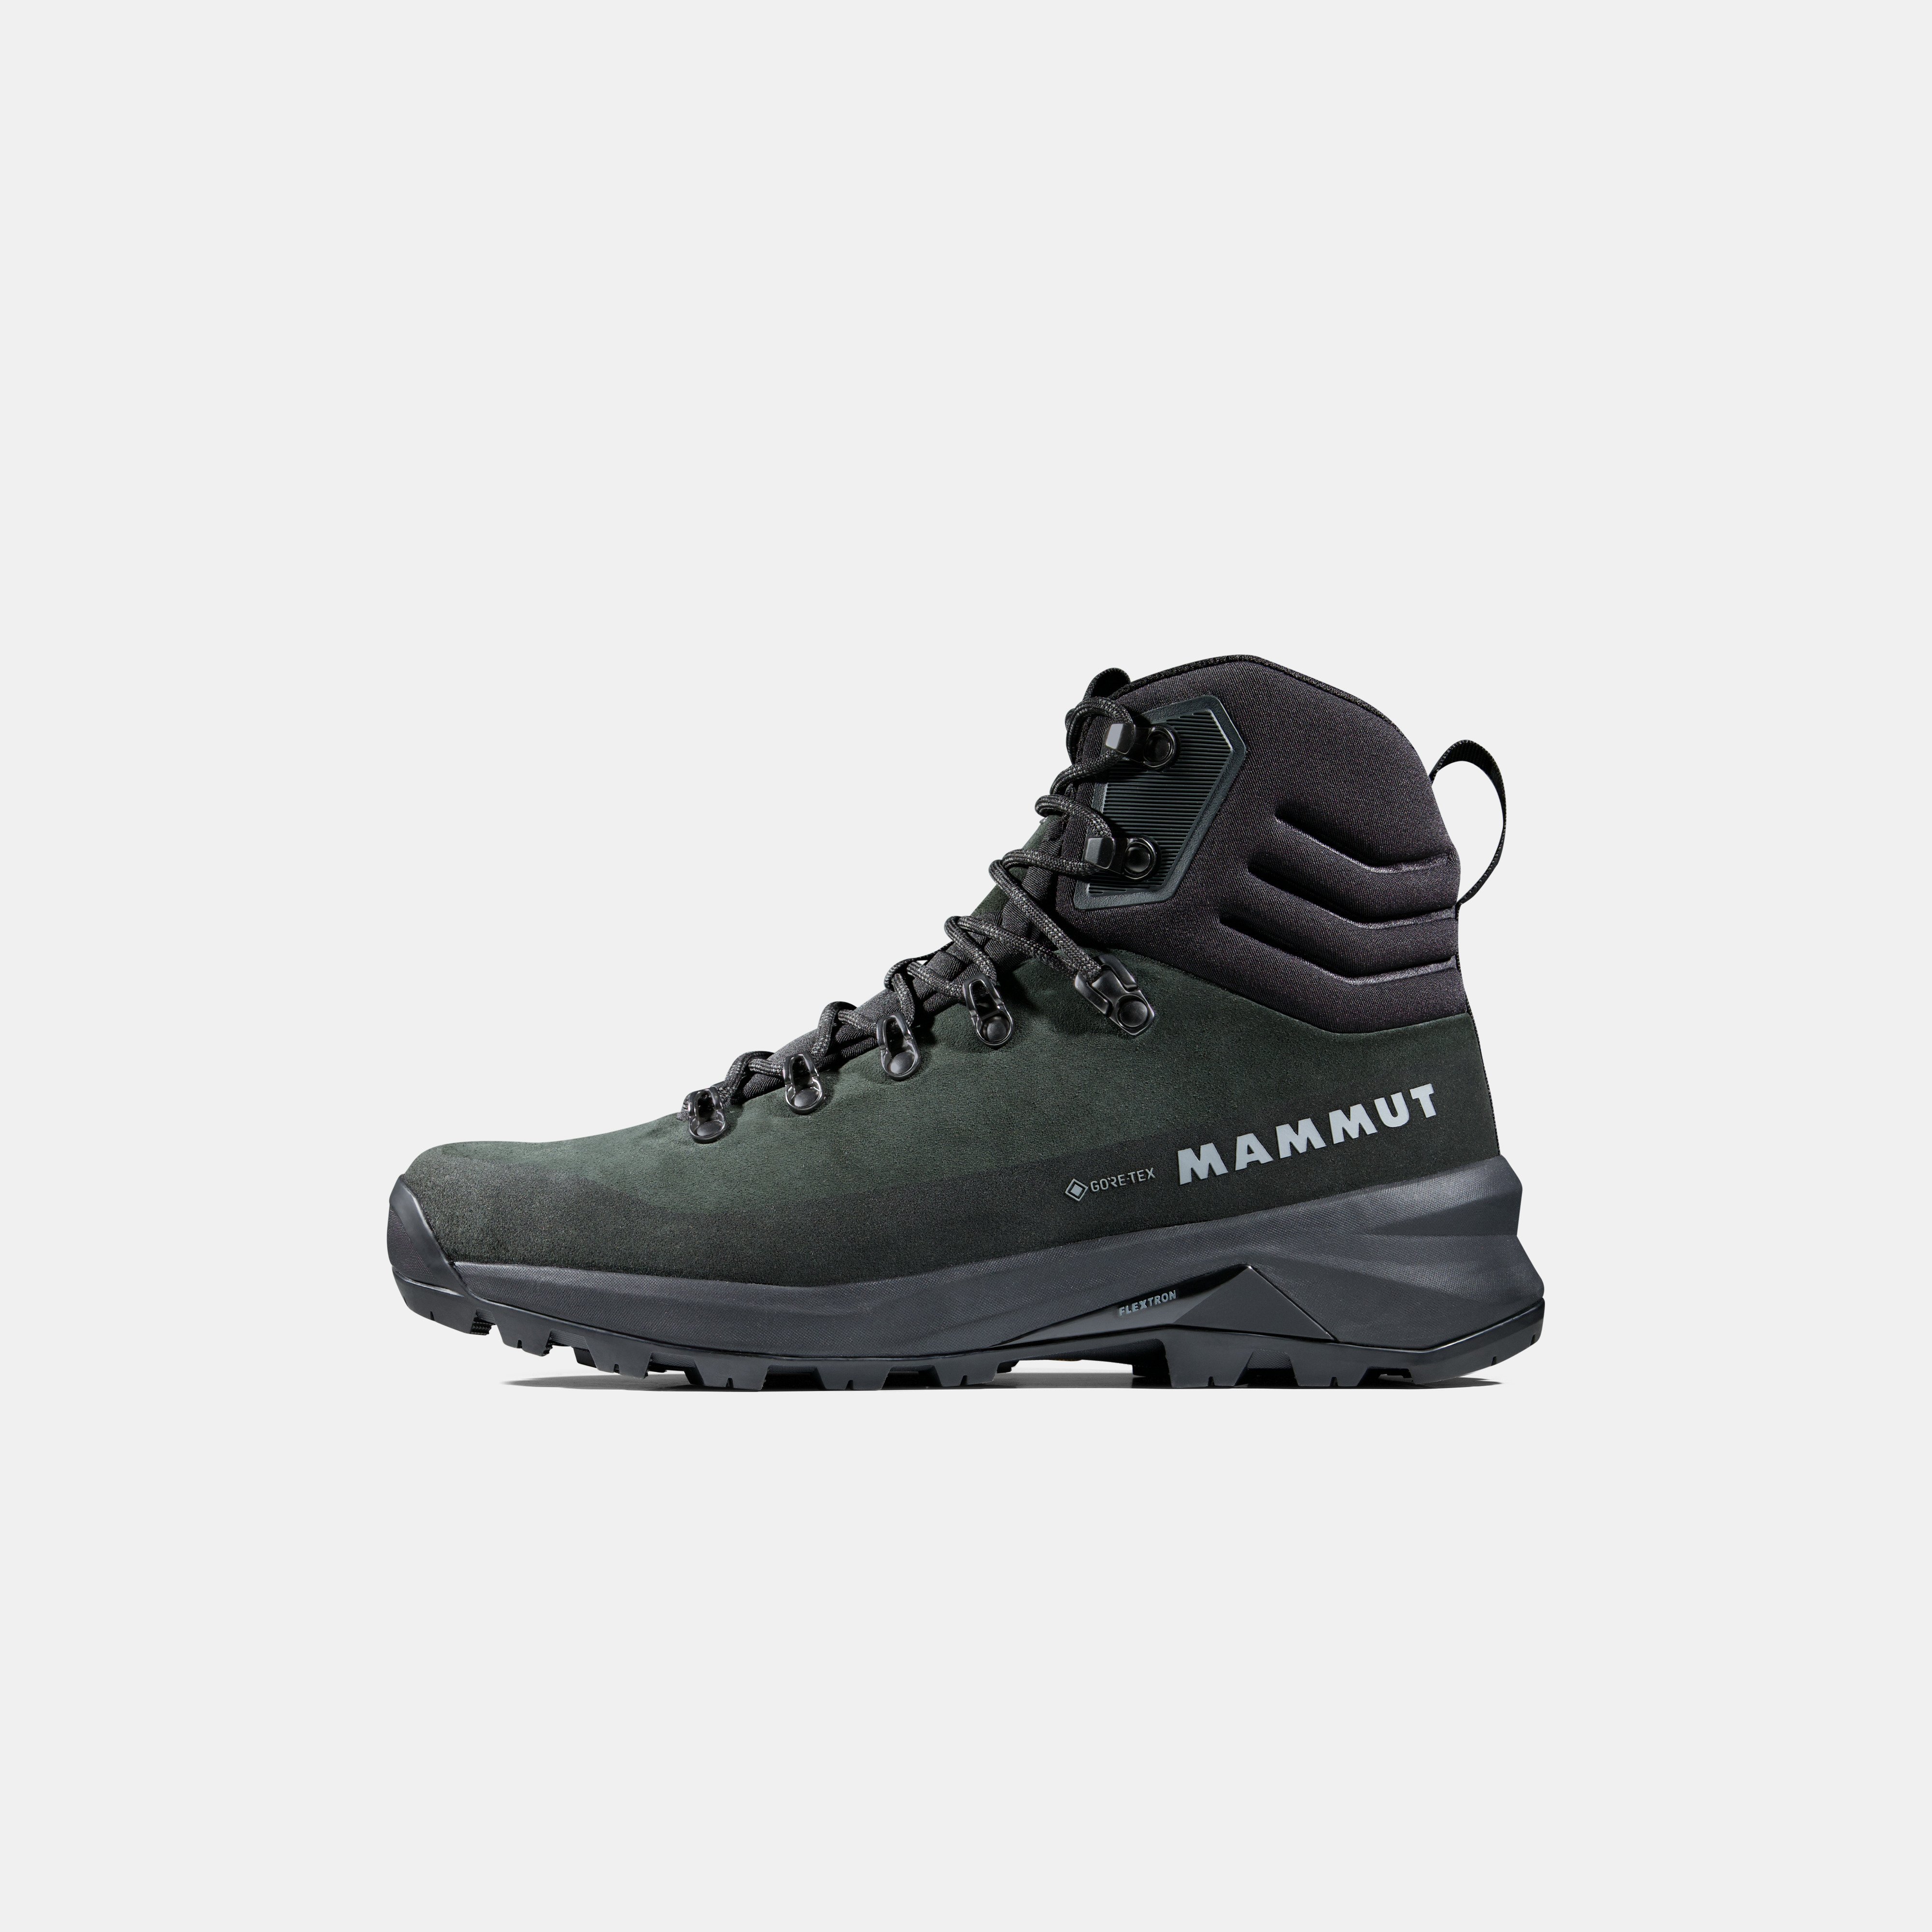
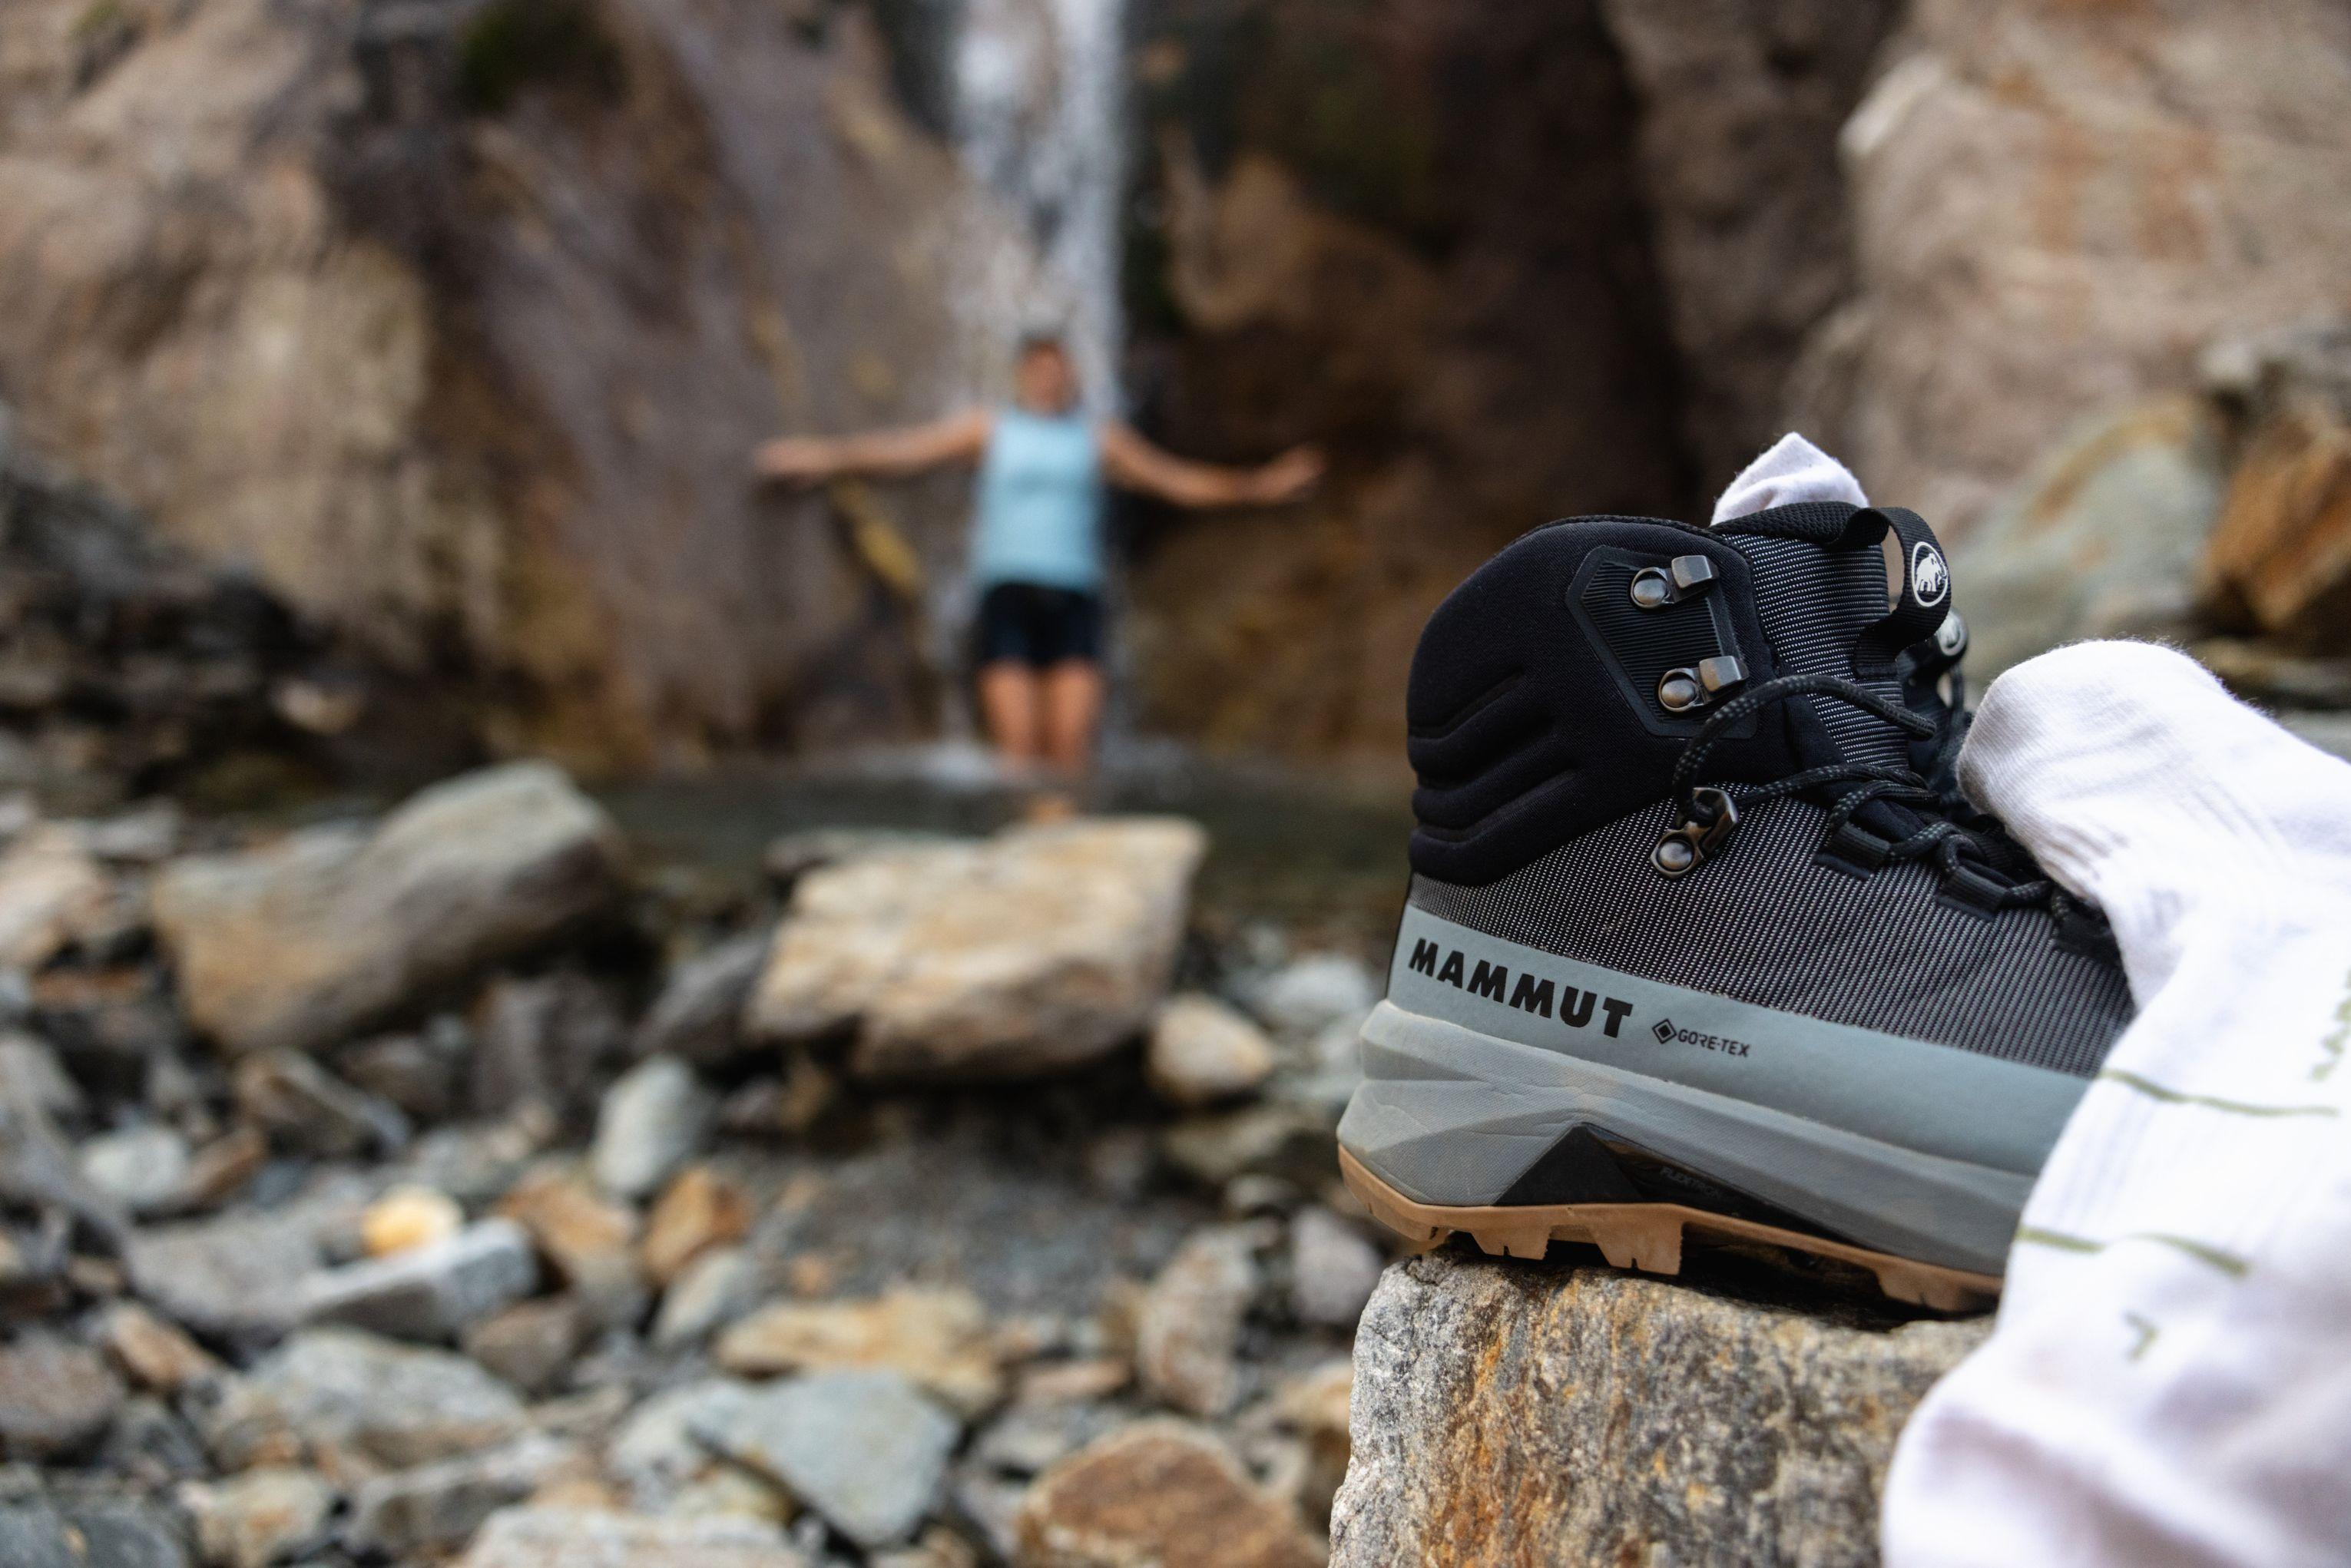
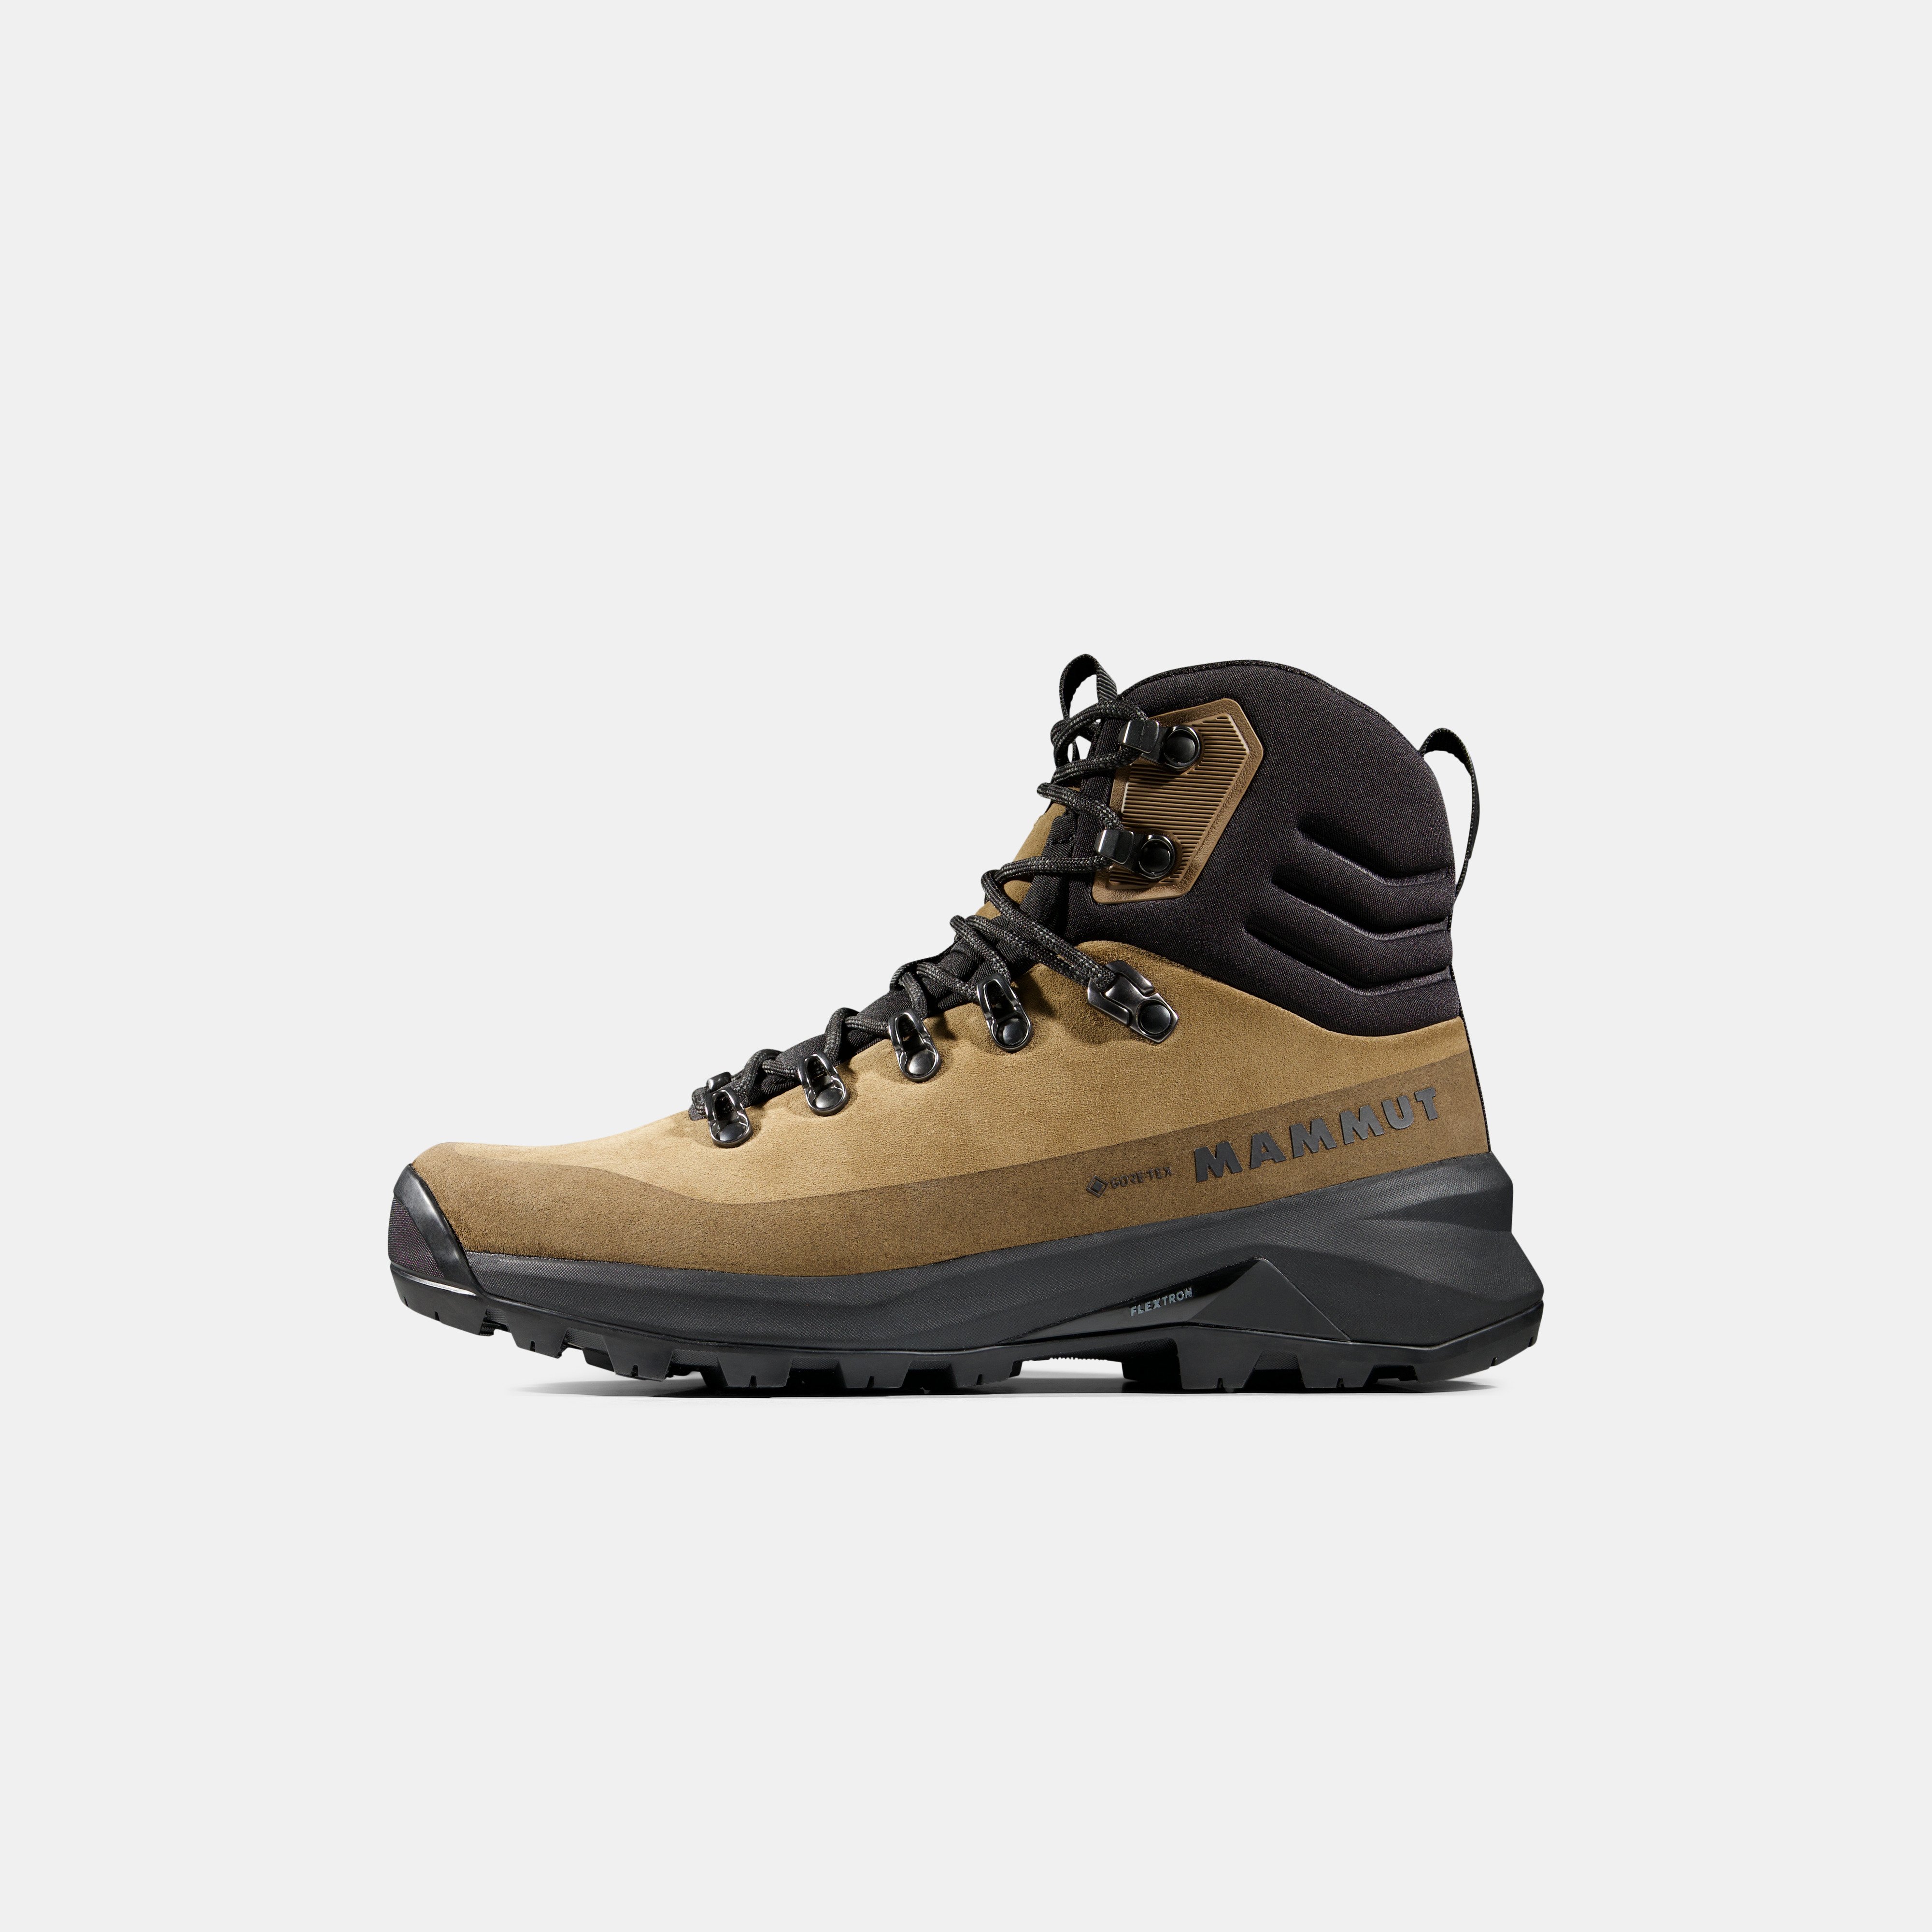
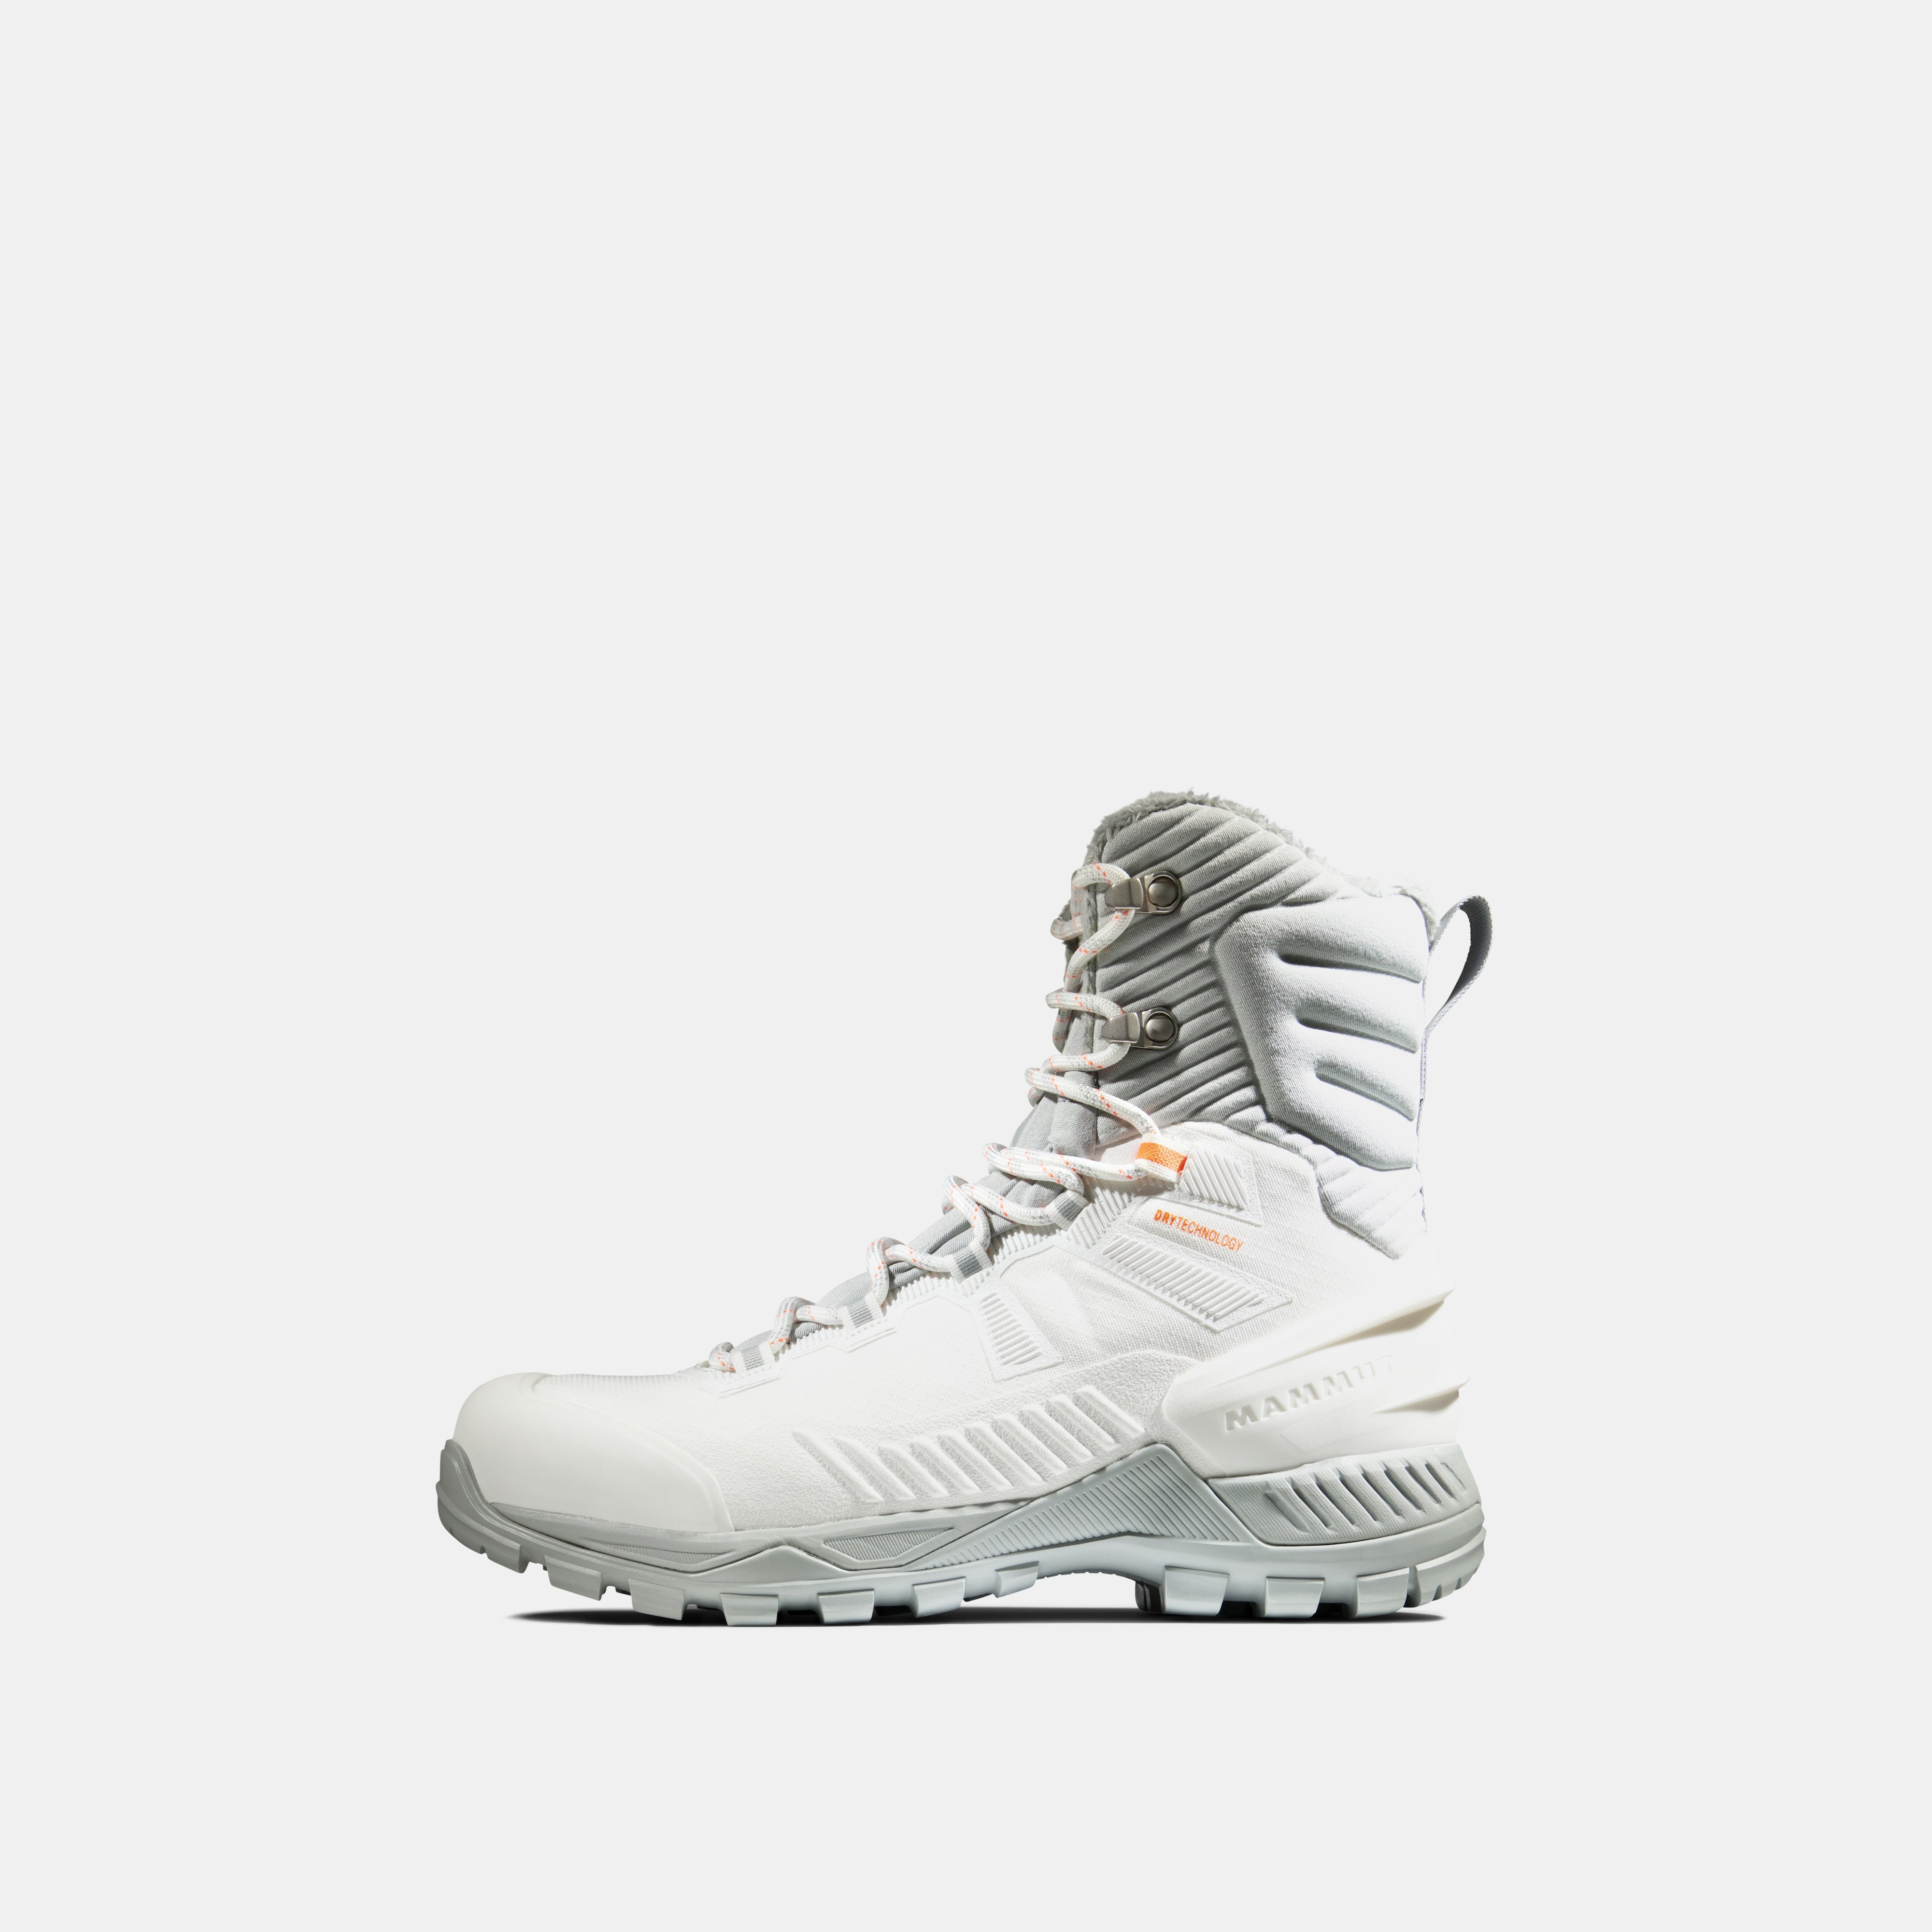
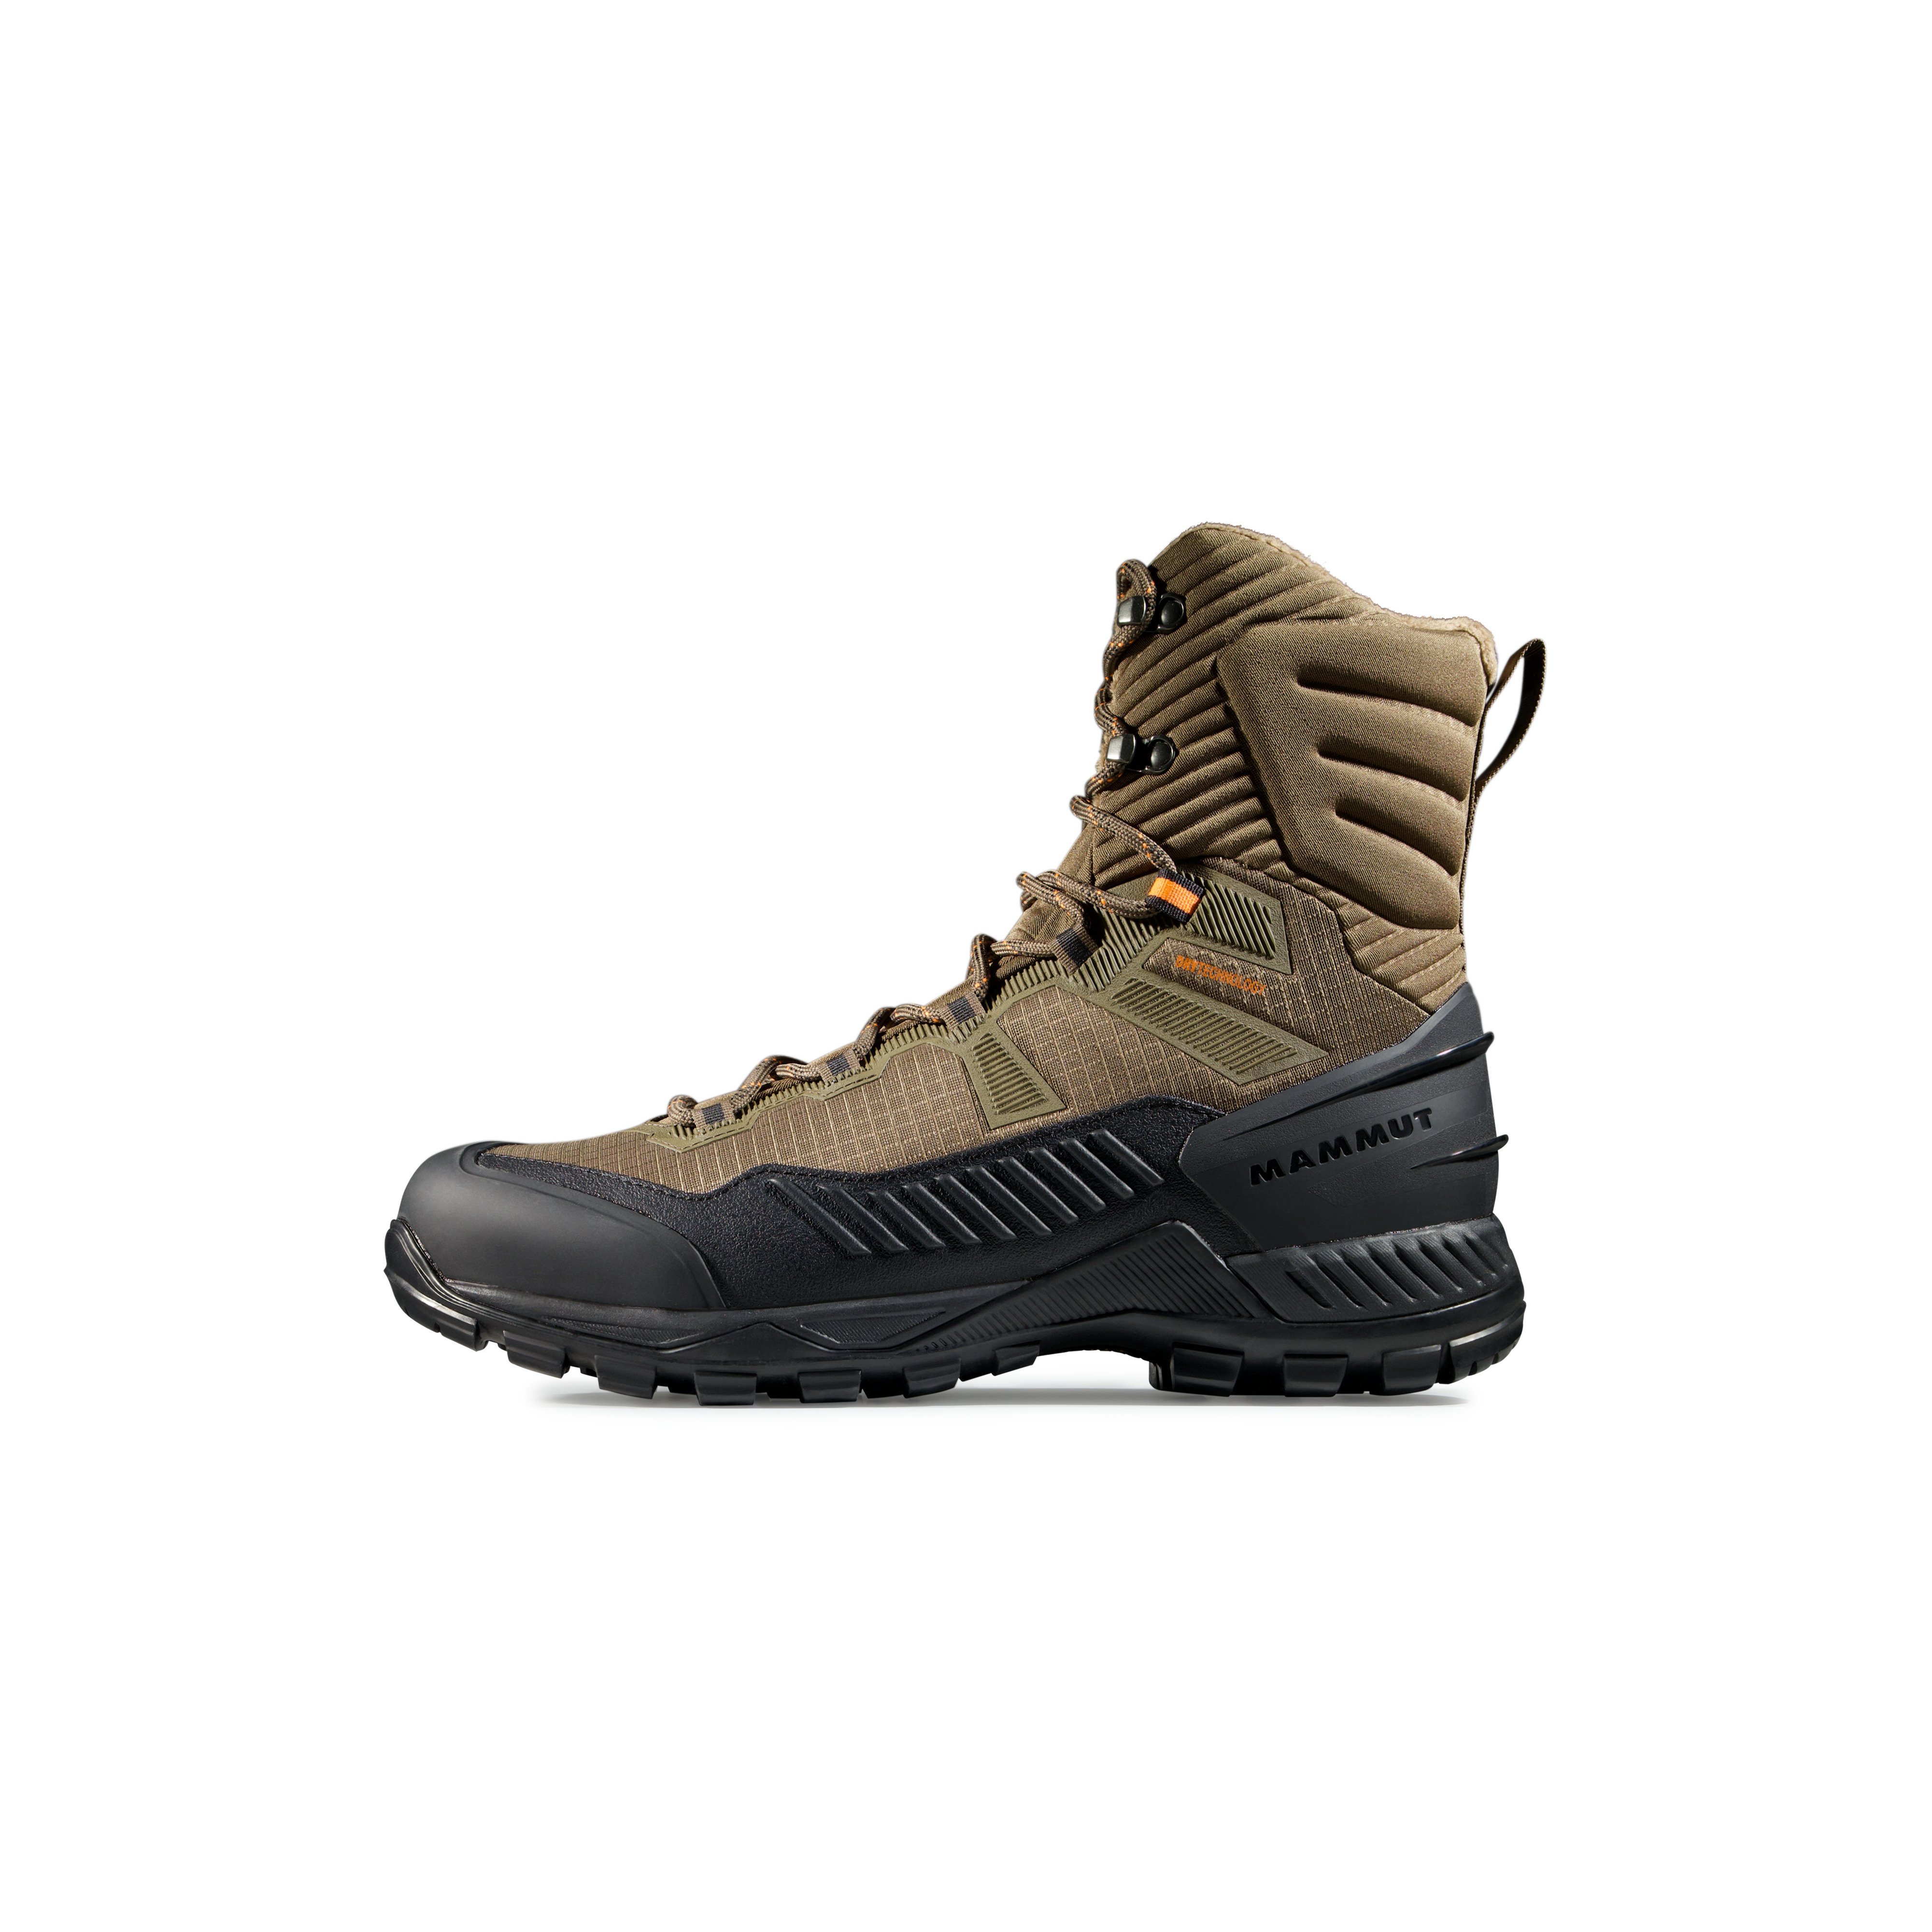
High-quality hiking boots – like those from Mammut – are designed to support different lacing techniques, featuring dedicated lacing zones, locking hooks, or flexible eyelets.


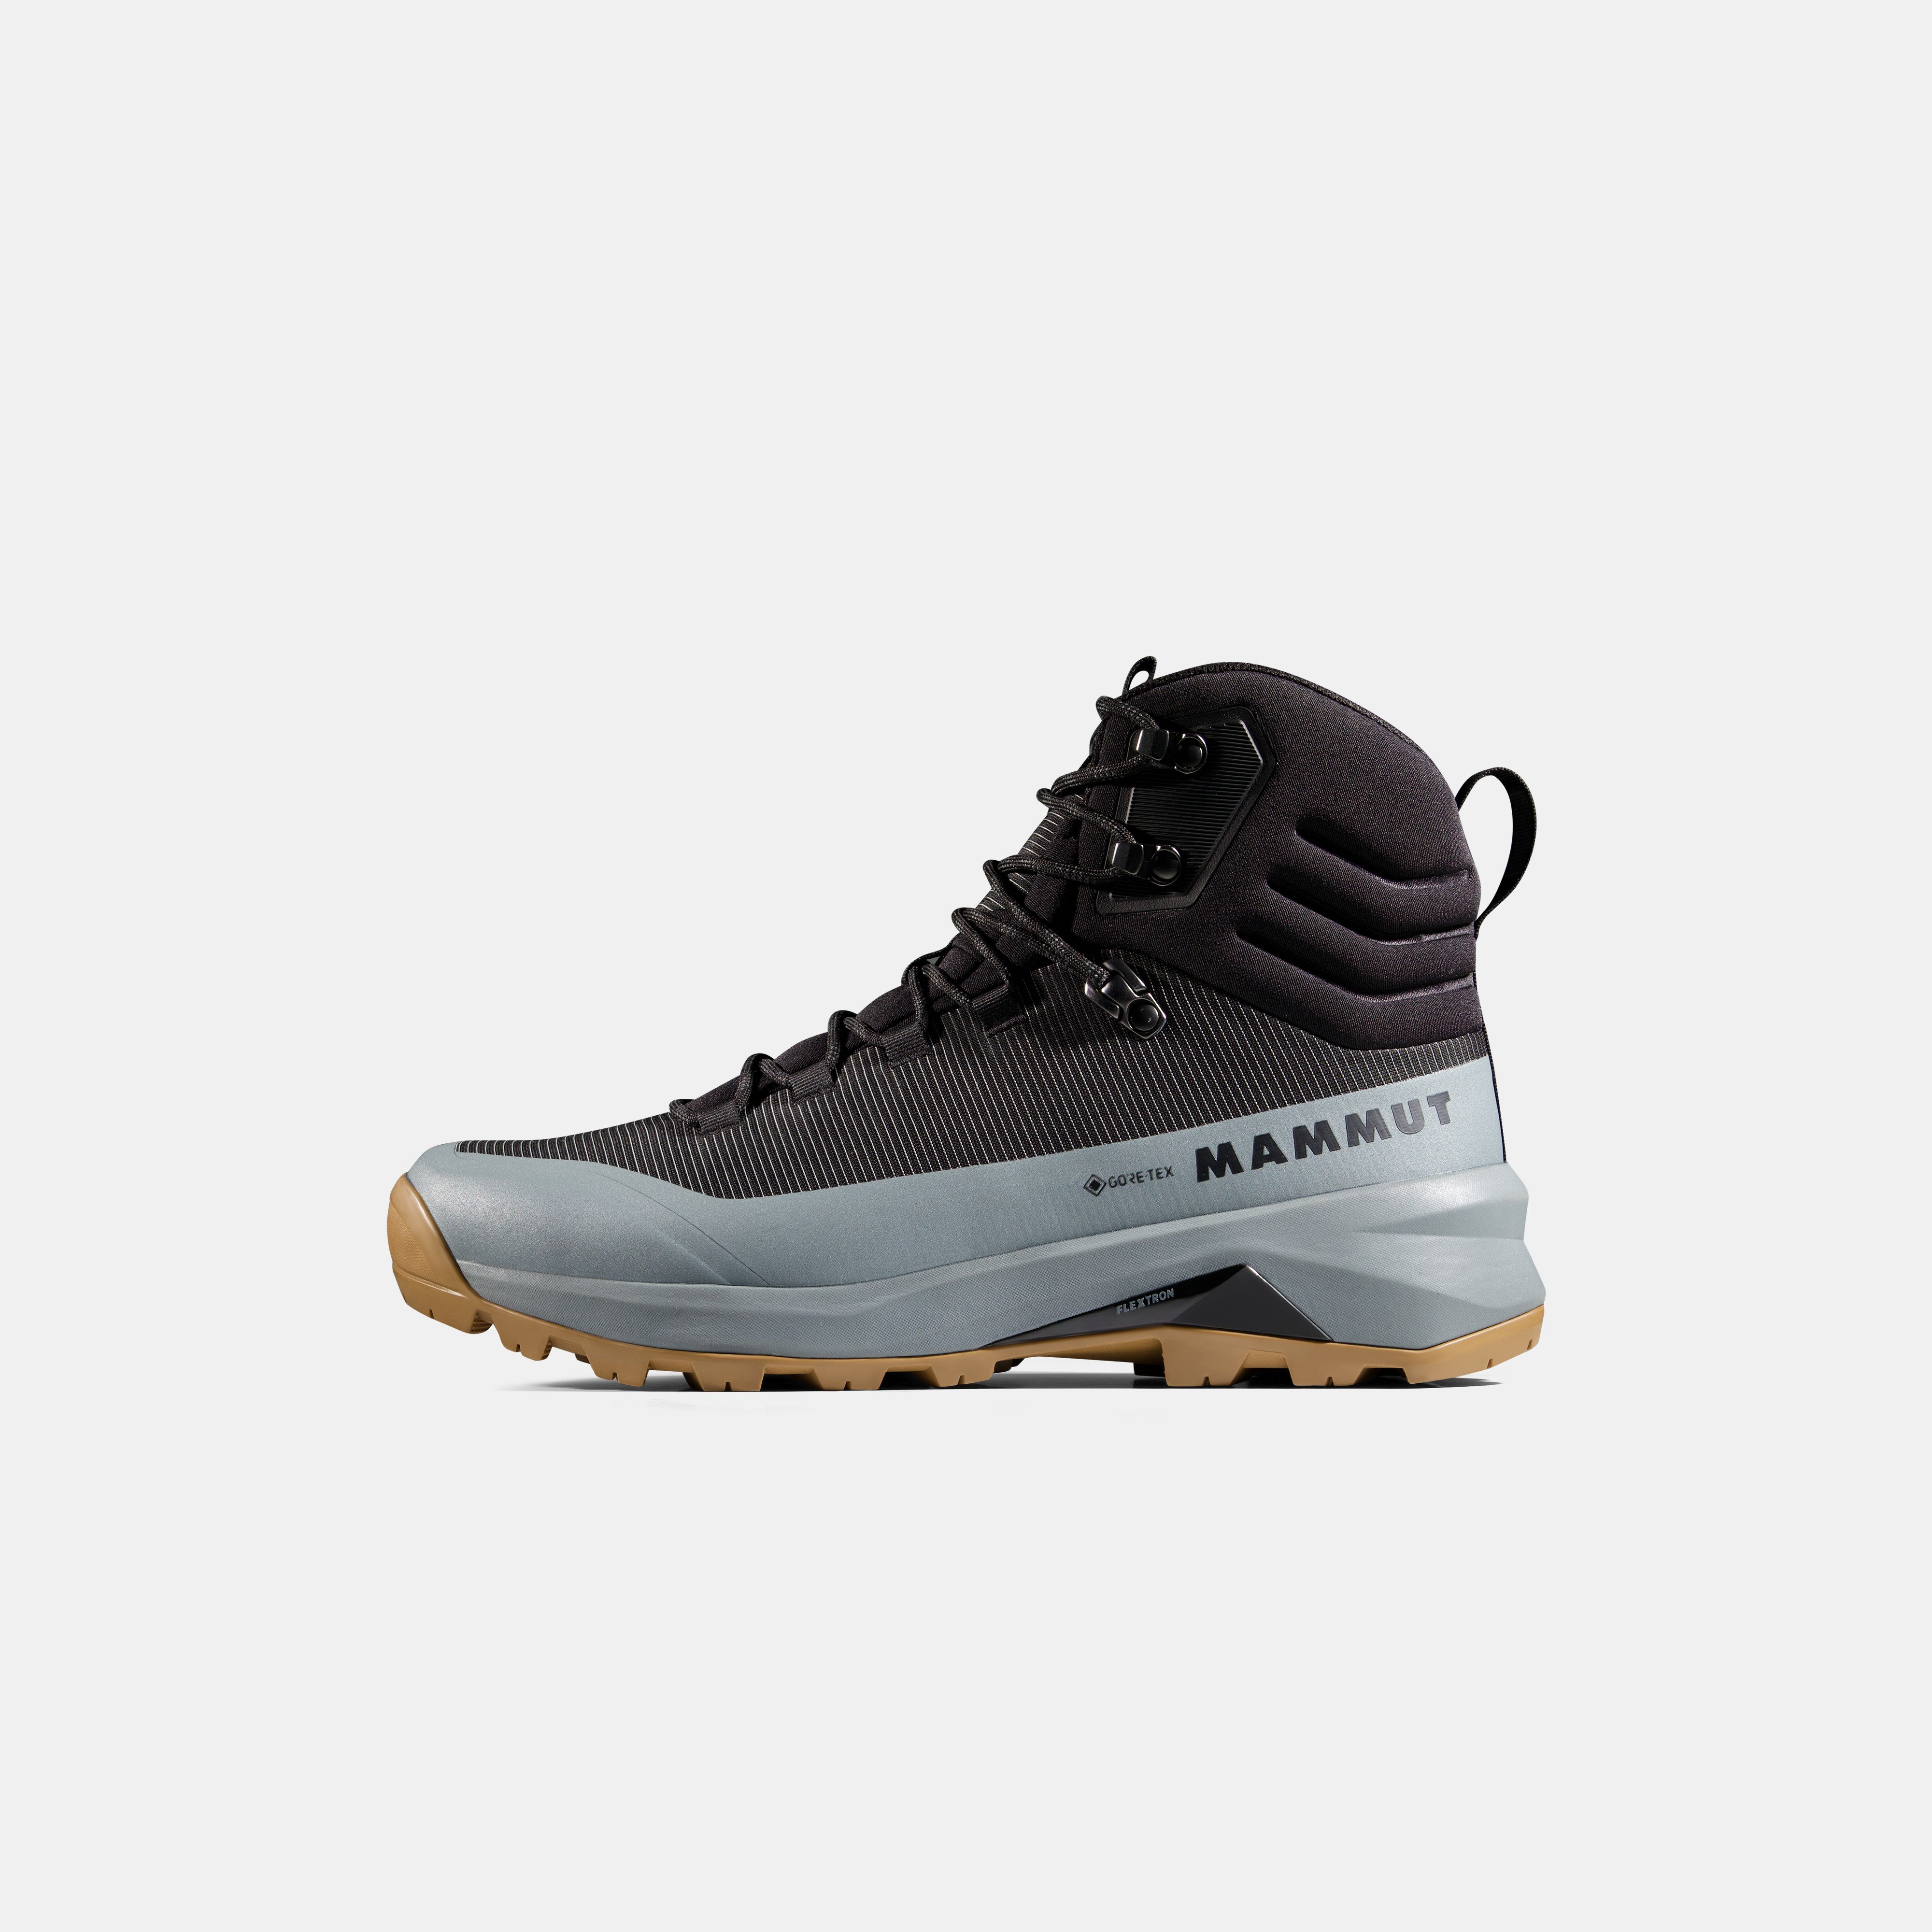
The Basics: How to lace your hiking boots
Before diving into specific techniques, it is worth taking a quick look at the lacing systems themselves. Mammut distinguishes between standard lacing and asymmetric lacing – also called two-zone lacing. Both affect how the boot fits your foot.
Standard lacing is a classic, centered lacing system, that distributes the pressure evenly across the instep. It’s versatile, easy to work with and a solid choice for most foot shapes and comfort-focused hikes.
With asymmetric lacing, the lacing panel is slightly offset, allowing you to adjust the forefoot and upper shaft independently. This takes pressure off the instep and provides a more precise fit – especially helpful on technical sections, longer descents, or if you have narrow feet.
As a general rule, the boot should fit securely without feeling too tight. Keep to these guidelines:
lace up while standing
wear your hiking socks
start with a looser fit in the forefoot
increase tension toward the top
A quick but useful check: Your toes should still have room to move, while your heel stays firmly in place.


How to lace hiking boots – Step by Step
Step 1: Preparation
Put on your hiking boots while standing, wearing appropriate hiking socks. First, open the boot wide enough so it can conform evenly to your foot.
Step 2: Adjust the forefoot and midfoot area
This is where the two-zone lacing principle comes in: Start with moderate tension in the toe area and increase it through the midfoot depending on your foot shape. The goal is a secure fit without pressure points.
Step 3: Lock down the heel and ankle
Use the upper hooks or locking eyelets to stabilize the heel. This prevents friction and gives you more control on downhill sections.
Step 4: Readjust on the go
Over the course of a hike, your feet can change due to exertion, heat, and slight swelling. Adjust the lacing as needed – especially after long uphill or downhill stretches.
Tip: After a hike, your boots can end up pretty dirty and worn from the trail. Find out how to clean and care for hiking boots here.
Lacing techniques for different situations
Depending on the terrain, incline, and duration of your hike, the demands on your boot fit can vary. With the right lacing techniques, you can avoid pressure points, improve support, and keep your feet comfortable and healthy — no matter what terrain you're on.
Comfort lacing for flat trails
For easy hikes on well-maintained paths without steep inclines, an even lacing is usually enough. The boot is laced from bottom to top with moderate tension throughout. This method provides comfortable wear and is especially suited for short, relaxed outings.
Lacing for heel hold on downhill sections
When hiking downhill, feet often slide forward, which can cause pressure on your toes. Heel-lock lacing takes care of that. Keep the lower portion of the boot laced loosely, then tighten up around the ankle. Many Mammut hiking boots feature locking hooks that make this technique particularly easy to execute.
Lacing for uphill sections
When hiking uphill, your foot shifts further back in the boot. To avoid pressure on your toes and instep, ease off on the lacing in the forefoot and instep area while keeping the upper shaft snug and stable. This maintains circulation, gives your toes room, and allows the boot to support a natural rolling motion on longer ascents.
Relief lacing for a sensitive instep
If you have a sensitive instep or experience pressure pain on the top of your foot, it can help to selectively loosen the lacing in that area: Instead of using all eyelets evenly, skip individual eyelets in the middle section or deliberately apply less tension there. This creates a kind of "window" that relieves pressure without your foot losing overall support inside the boot.
Lockdown lacing for challenging terrain
On steep or technically demanding terrain, a particularly snug fit is essential. Here, the boot is laced somewhat tighter overall, especially around the ankle. The key is to build tension from the bottom up: keep the forefoot relatively mobile, while firmly securing the upper shaft and ankle. This gives you greater control on the ground beneath you.
Common lacing mistakes to avoid
Even small mistakes can have a big impact on comfort:
Lacing too tightly in the forefoot — quickly leads to numb toes.
Uneven tension — causes pressure points.
Not readjusting during the hike — feet change throughout the day.
Using the wrong lacing technique for uphill or downhill sections.
Small technique, big difference
Lacing hiking boots properly is simple yet effective for your comfort, safety, and performance on the trail. Take a few minutes to adjust your lacing to the terrain and how your feet are feeling that day, and you will stay clear of blisters and pressure points, move with more stability and enjoy longer hikes with less hassle.
Speaking of preparation: Are you fully equipped for your next adventure? Beyond properly laced hiking boots , the right hiking socks , breathable clothing , a well-fitting backpack , and various accessories like gloves and hats are also key in keeping you comfortable and safe out there.
At Mammut, you'll find thoughtfully designed gear for all types of hikes as well as practical tips on topics like choosing the right hiking apparel, finding the right backpack , breaking in your hiking boots , and planning your next route .
Frequently asked questions about lacing hiking boots
What does two-zone lacing mean?
Two-zone lacing divides a hiking boot into two areas: the forefoot and the cuff. Both zones can be adjusted independently. This keeps your forefoot flexible and comfortable while the heel and ankle are securely locked down. This provides better support, fewer pressure points, and more control — especially on challenging terrain.
How tight should hiking boots be laced?
Hiking boots and mountain boots should be laced tightly enough that your foot sits securely in the boot without feeling constricted. Some room in the forefoot is important so your toes can move freely. The cuff area can be laced more firmly to ensure stability. Over-tightening can cause pressure points and circulation issues.
When is the best time to try on hiking boots?
It's best to try on hiking boots in the afternoon or evening. At that point, your feet are slightly stressed and swollen — similar to how they'd feel after several hours of hiking. If possible, wear the hiking socks you plan to use on the trail to get a realistic sense of the fit. Learn more about choosing the right hiking boots here.
What types of lacing are there for hiking boots?
Common options include standard lacing with even pressure distribution, asymmetric lacing to relieve the instep, and various lacing techniques such as heel hold, relief, or lockdown lacing. Modern hiking boots often combine these options with a two-zone lacing system.
What can you do about heel slippage in hiking boots?
Heel slippage is usually caused by lacing that's too loose in the cuff area. The fix is a targeted lacing approach for better heel lock that cinches the ankle area more firmly, for example by using pull-down hooks. Properly fitting socks and the right boot size also play an important role.
How can I prevent pressure points on the cuff of my hiking boots?
Pressure points on the upper shaft can often be avoided with adjusted lacing. Make sure you’re not lacing the shaft too tightly and build tension evenly from bottom to top. For sensitive spots, it can help to skip individual eyelets or deliberately loosen the lacing in that area. Well-padded hiking socks also help reduce friction.