Avalanche transceiver training & search technique: Practical tips
11/26
If you want to locate and rescue a buried person in an emergency, you need to master the search – under stress and cold, in an avalanche field where every second counts. To be able to execute the right technique when it matters most, honing your avalanche transceiver search skills through regular training sessions is essential. We'll walk you through every step, with videos and detailed instructions showing you how a burial search works, how to wear your transceiver correctly, and how to practice the entire rescue sequence strategically.
Note: This article covers the fundamentals, but it doesn't replace a professional avalanche course or proper training. Operating in avalanche terrain demands solid knowledge of avalanches and rescue, plus regular practice and experience in the backcountry.
Step 1: Wearing & activating your avalanche transceiver
Before you dive into search technique, you need to know how to wear your avalanche equipment transceiver correctly. This point may be often overlooked, but is absolutely critical: if your device is not fitted the right way, an avalanche can easily rip it off your body. Here are the key steps for setting everything up:
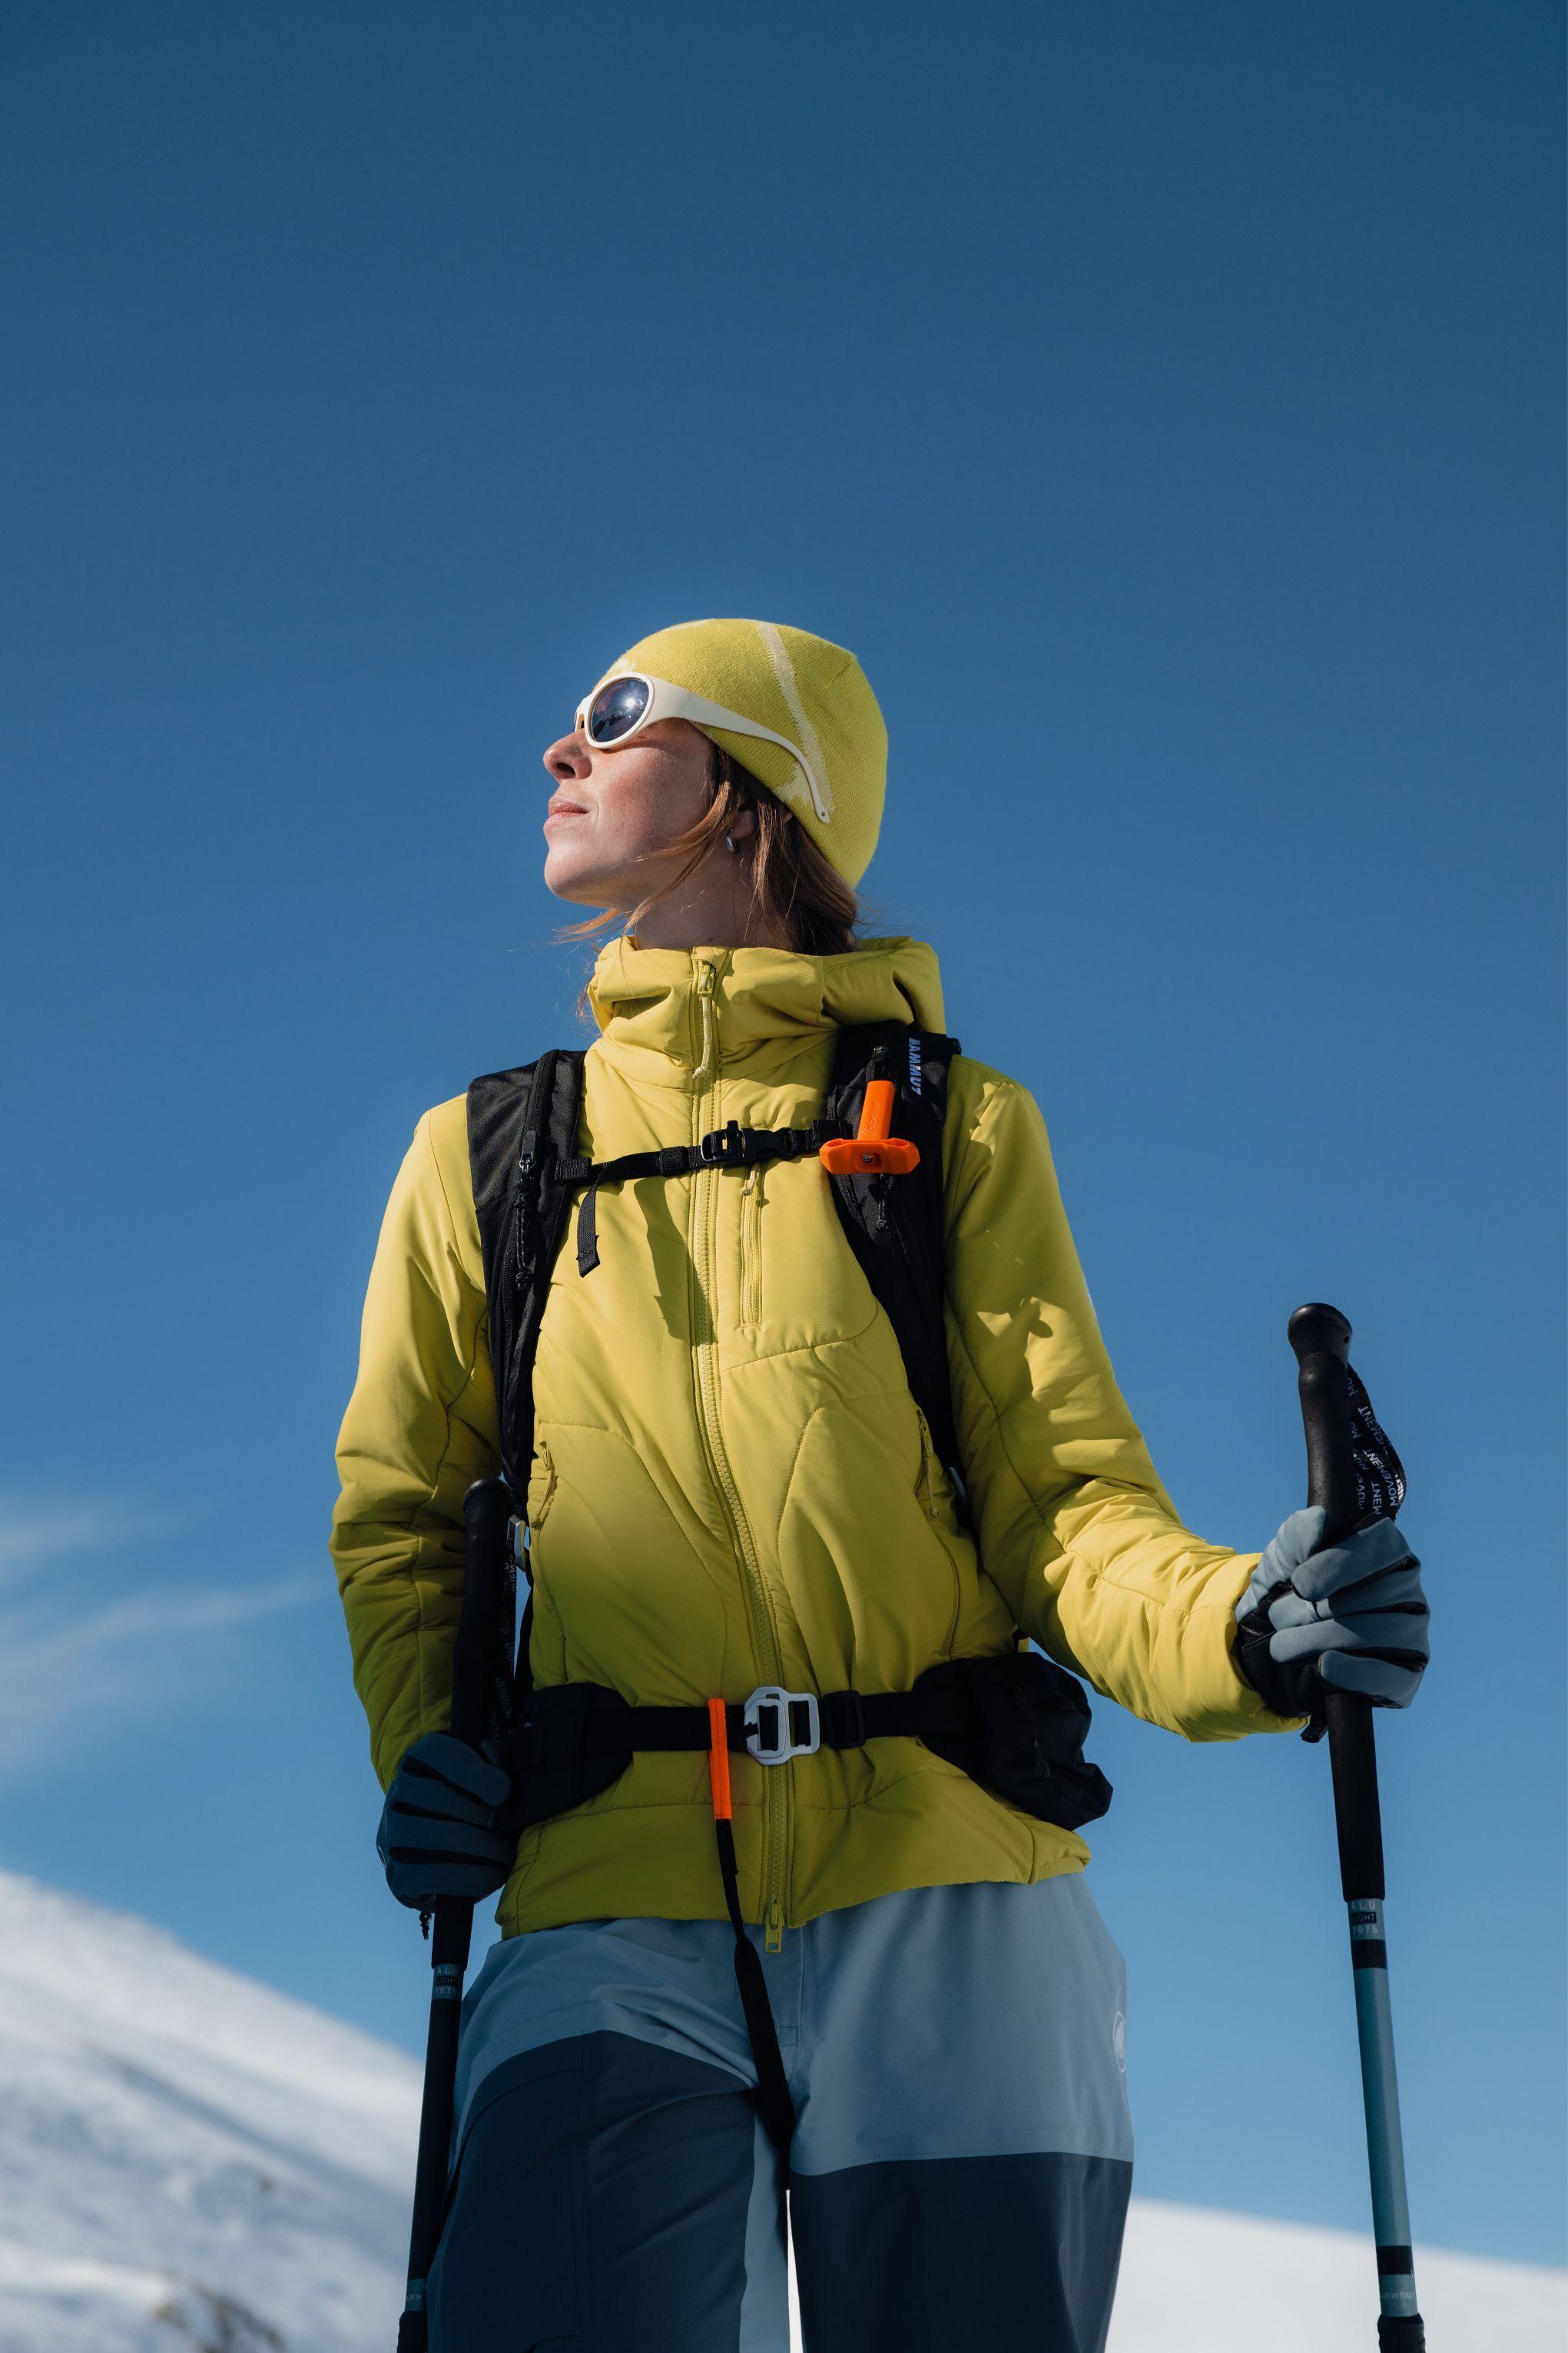
Wear the transceiver directly on your body: Your transceiver should go under your outer clothing layer, never inside your pack, as this can be ripped away too. The clothing on top protects your device from sun exposure and impact damage during an avalanche. The display should always face your body.
Use a carry system: Mammut includes a harness with every Barryvox to help you anchor your device securely to your chest. Wear it snug so it stays secure, but leave enough room to not restrict your movement. If you prefer to keep it in a pocket, choose the chest pocket of bib pants. Clip the security cord to your pants and ensure the display faces inward.
Activate transmit mode: Switch on your device at the start of your tour and verify if transmit mode is activated – this will be indicated by a transmit symbol showing on your transceiver's display. Keep it in transmit mode for the entire tour.
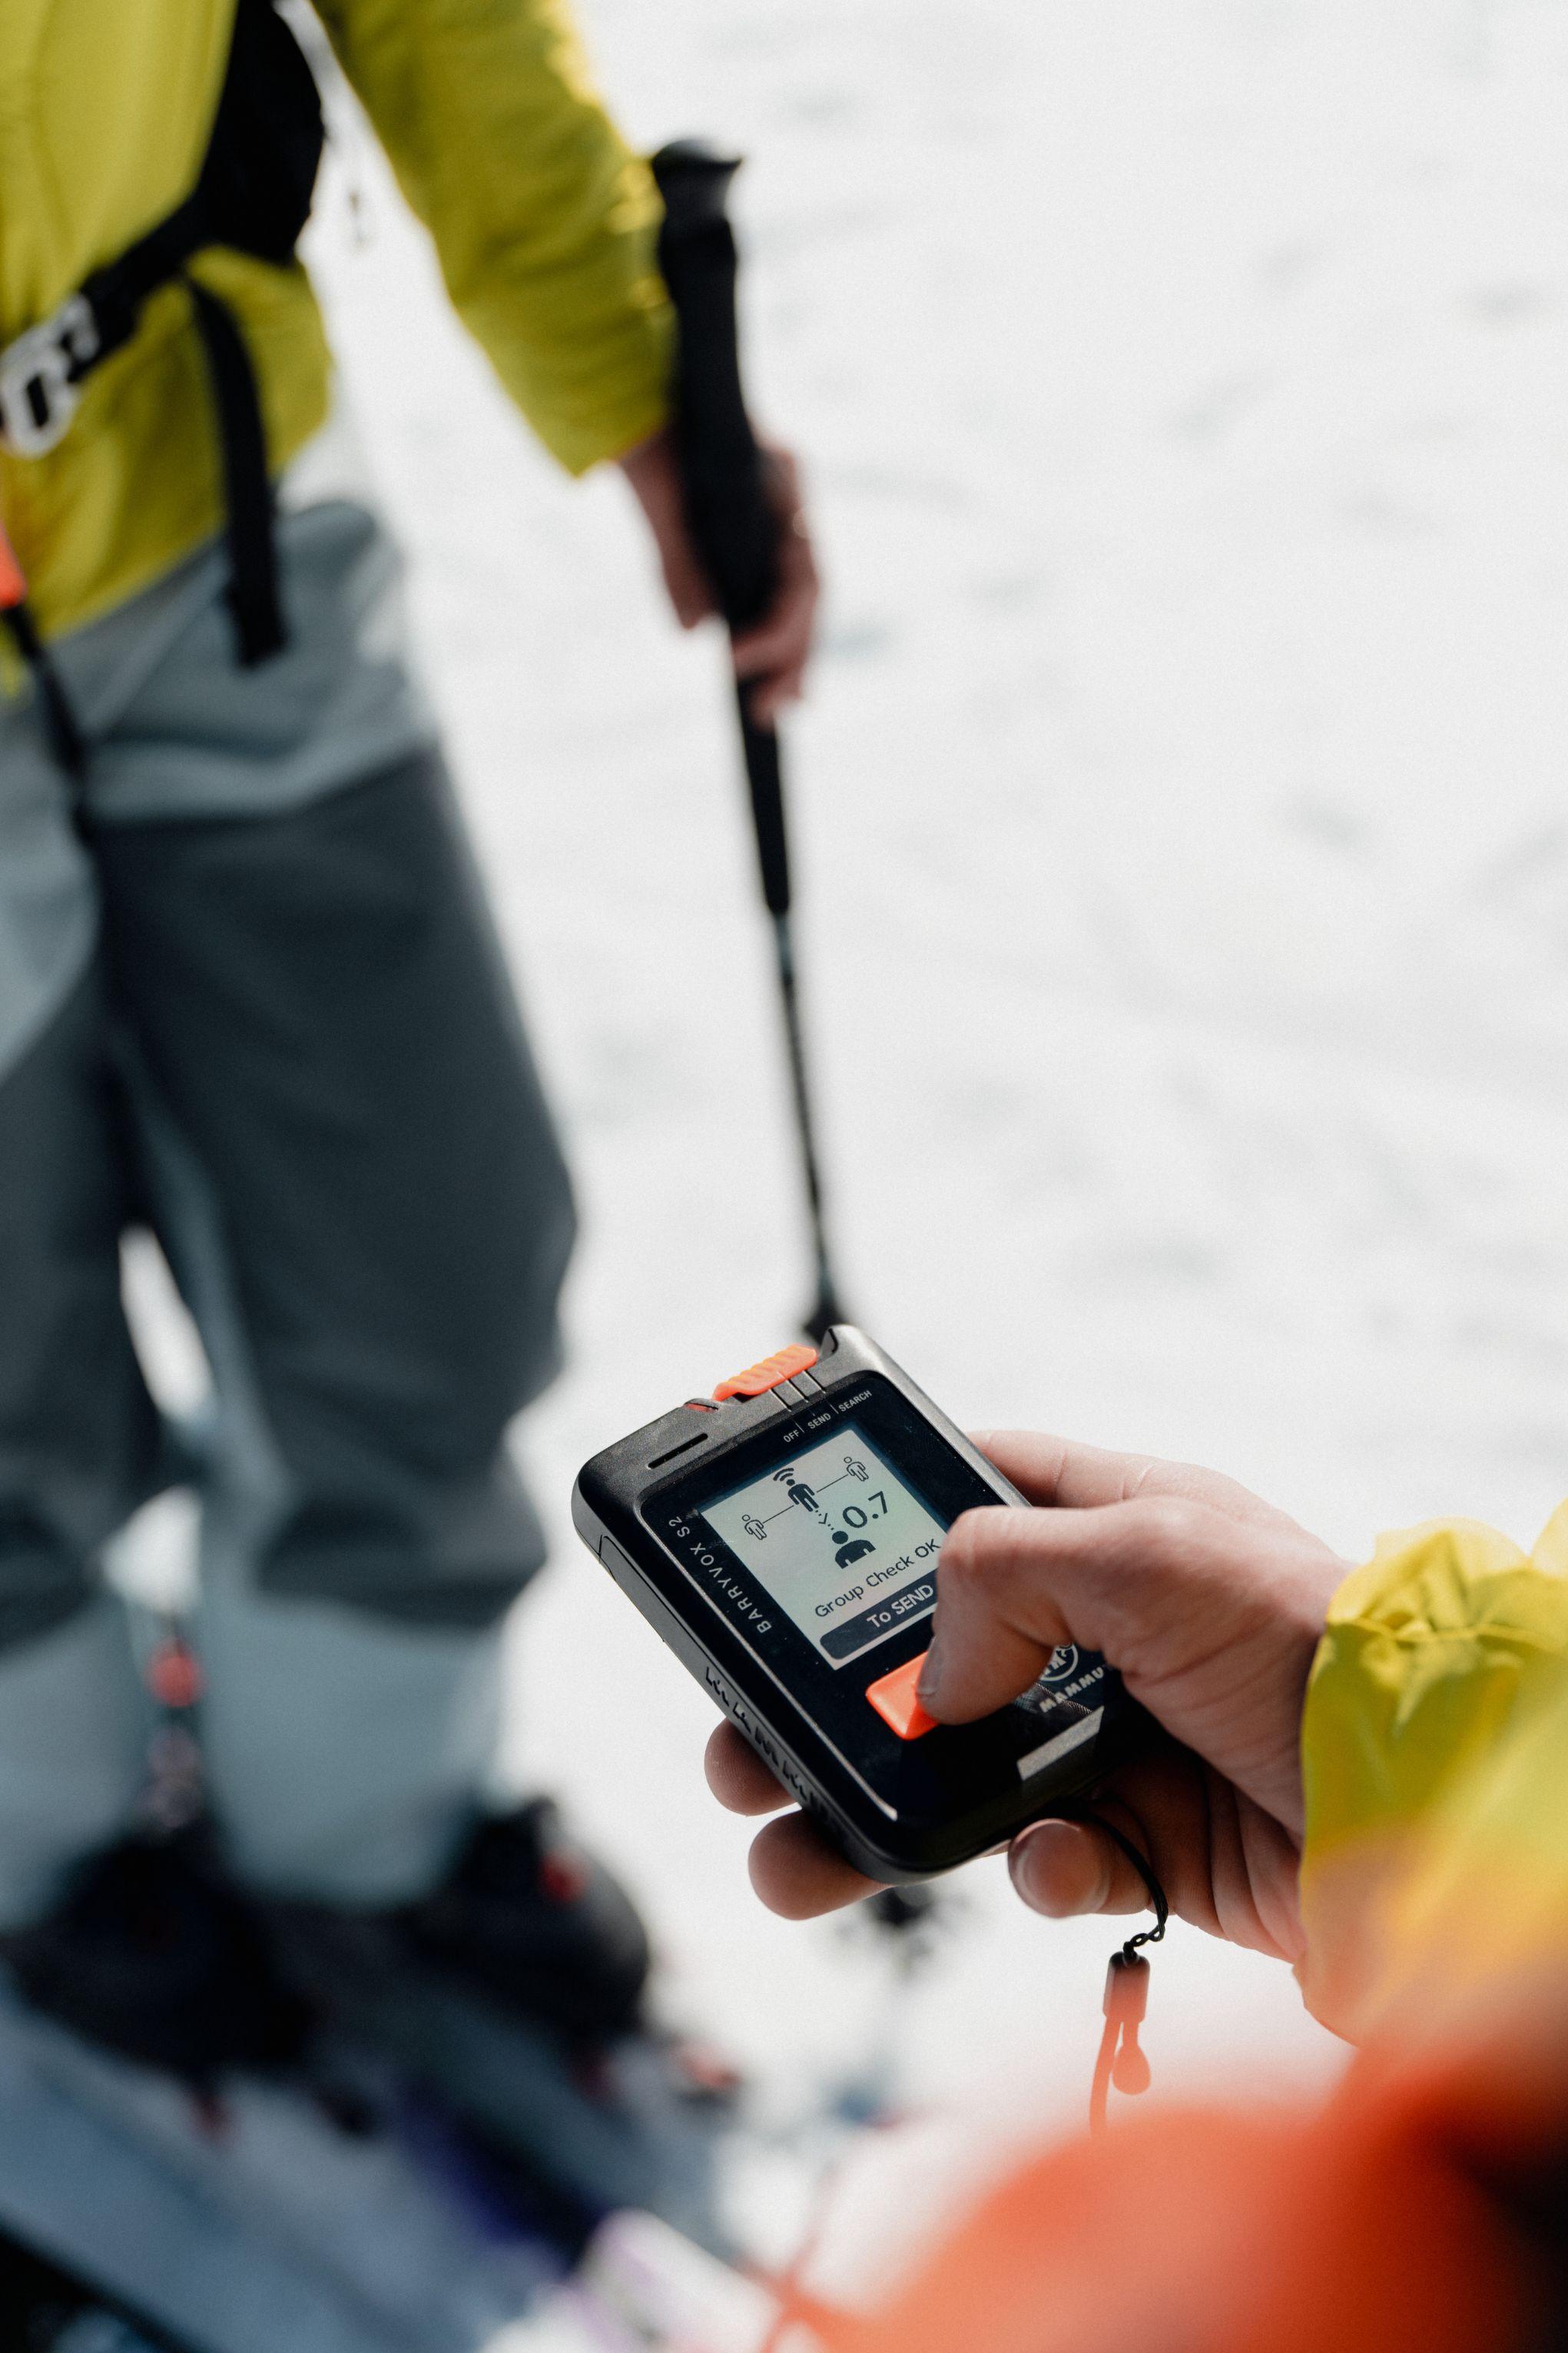
Run a group check: Before every tour, all group members should test each other's transmit and receive functions. One person switches to search mode – the others walk past one by one. Each device in search mode should pick up every signal in transmit mode.


The four phases of burial search
With your transceiver worn correctly and group-checked, you're ready for the search itself, which follows a standardized four-phase sequence.
Signal Search
Aim: To detect the buried person's signal.
After an avalanche, the rescuer switches their device to search mode.
Critical: Keep all electronics like phones, GPS watches or radios at least 50 cm / about 20 inches away from your transceiver, as they will interfere with the signal. Hand your phone to someone not actively searching, or stow it in a zippered pack pocket in your backpack .
Now the systematic search begins: Move in parallel strips across the avalanche field. Your strip width depends on your device's maximum search range – the Mammut Barryvox reaches up to 230 feet. The Interference Guard helps when signals overlap in multiple-burial situations, showing you a reduced 66-feet search width.
Speed is key. Move briskly, hold your device horizontally at chest level, and scan the surface for visible signs (gear, clothing). As soon as you pick up a signal, call out "Signal!" so your group knows you’re on the trail.
Coarse Search
Aim: To close in on the signal fast.
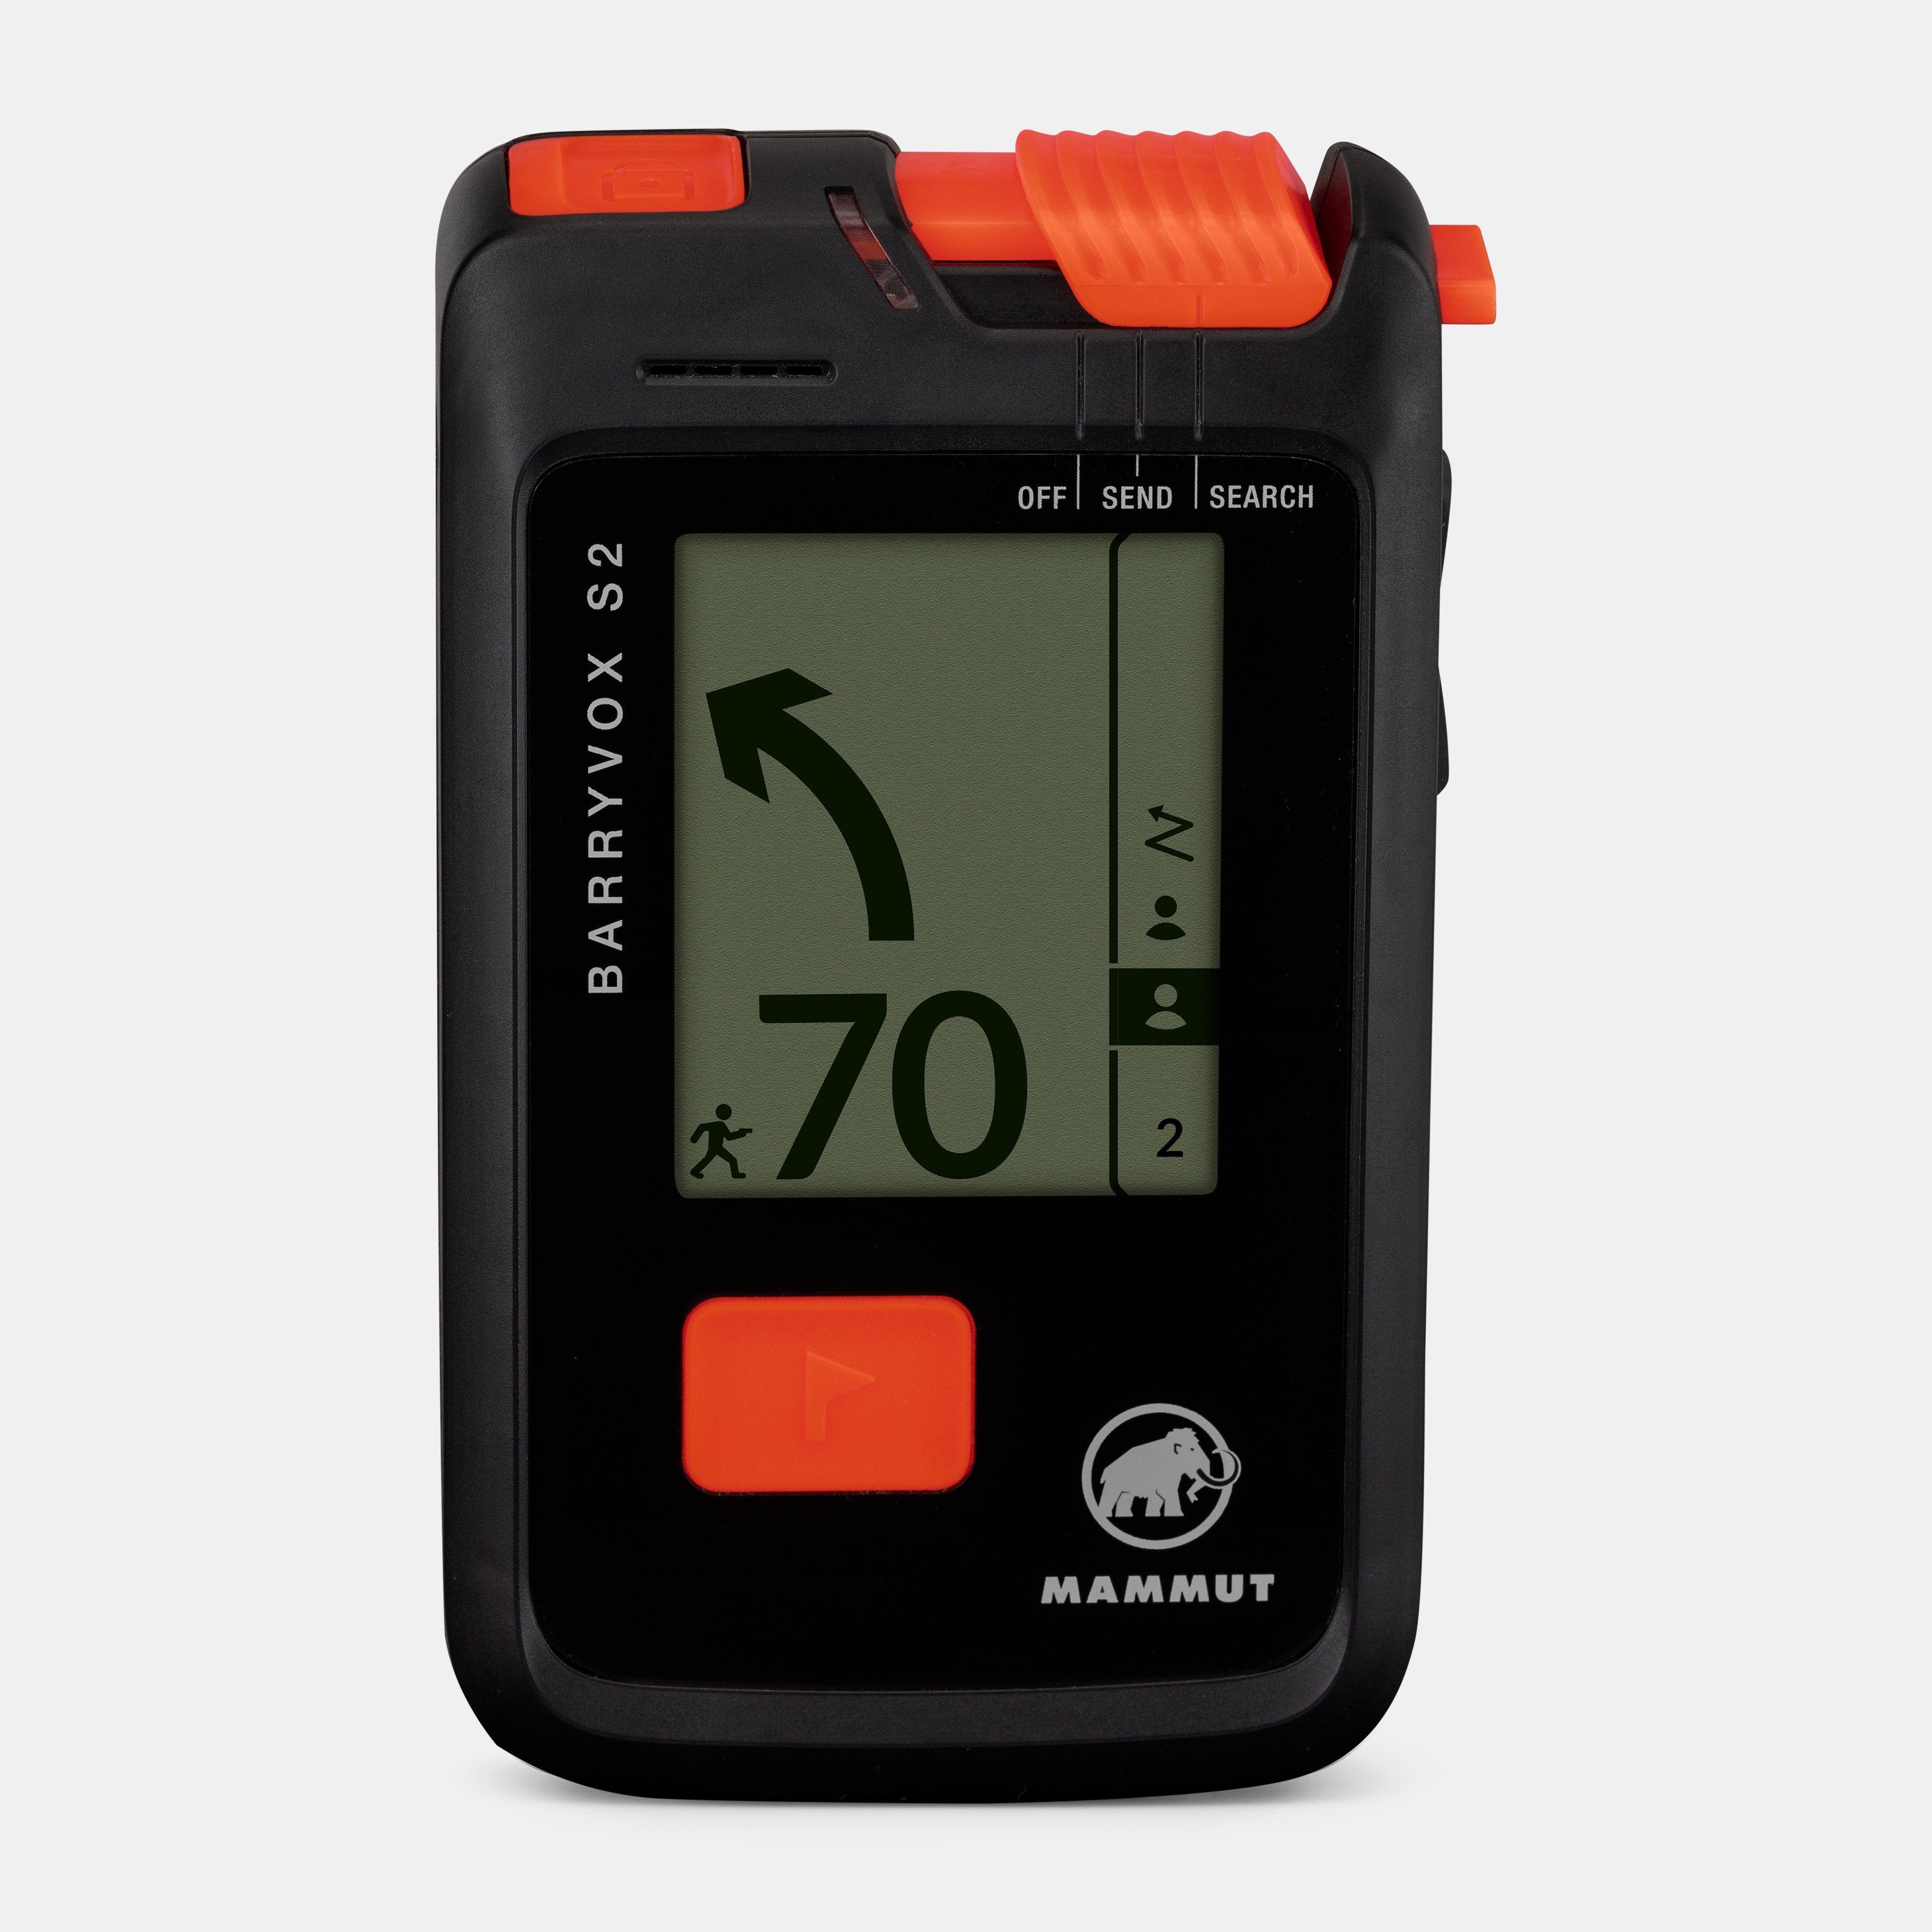
Once your device has locked in a signal, the display shows direction and distance. Follow the arrow and move toward the signal. The beeping gets faster and louder the closer you get to your target – like an approach to a landing. At long range, move fast toward the general location; as you close in, slow down and be precise in your search.
Call out distances "32 feet!" "16 feet!" to signal your group to bring shovels and probes . At roughly 10 feet, your Barryvox switches to fine search automatically. Now it’s time to guide the device directly across the snow surface.
Fine Search
Aim: To pinpoint the strongest signal
Now the search becomes slow and precise. Lower your device and hold it close to the surface. The Barryvox S2 is the only transceiver on the market with guided fine search. It keeps your device aligned automatically. Move it slowly in one direction until the distance starts increasing again, then back to the lowest point, and repeat at a right angle – called "bracketing." The Barryvox S2 gives you a unique advantage: once you find the point with the smallest distance, it displays a probing hint. Mark this spot with an object, for instance a glove or a shovel.
Modern devices like the Barryvox S2 support fine search with animated on-screen guidance, telling you which direction to move next.
Once you've located the buried person with your probe, mark that location with your transceiver. Then keep searching for additional victims while your group begins digging. Every second counts – dig as fast as you can.
Probing (Sounding)
Aim: To locate the exact location of the victim and determine burial depth.
At the marked point, drive your probe straight down into the snow. If the first strike misses, sound spirally around the point in roughly 25 cm / 9 inches intervals.
The maximum radius of your sounding spiral shouldn't exceed the smallest distance your transceiver showed during fine search. If your display reads "0.9 meters," there's no point sounding farther than about 1 meter from the center.
When your probe hits the victim, clearly communicate this to your group. Leave the probe in place. It marks the dig spot and gives you the burial depth, which is indicated on its highly detailed depth scale.
Mammut probes feature a visual guide system with clearly indicated 3-feet markings, a contrasting scale on both sides, and color-coded segments so you can determine the depth at a glance, and adjust your dig strategy accordingly.
Now start digging with your avalanche shovel. Start downhill from the probe, not directly above it, to avoid hitting the victim with the blade. Mammut shovels like the Alugator Ultra and Alugator Ride are engineered for efficient digging in hardened snow.


How to practice avalanche transceiver search
Knowing the technique is one thing; pulling it off under pressure is another. Regular training isn't optional – it's essential. Here's how to go about it:
Avalanche courses: Our Mammut Mountain School and alpine clubs offer classes which teach you everything from searching and precisely determining locations to probing and digging under expert guidance. Decision-making strategies for multiple burials and staying sharp under stress are part of our comprehensive courses.
Group practice: Train regularly with your tour group. Bury an active transceiver in the snow and run through the entire search and rescue sequence. Rotate roles, vary burial depths, and practice multi-victim scenarios.
Avalanche training parks: Many ski resorts and alpine clubs have dedicated transceiver training fields (like ATC locations ) where you can practice in realistic conditions.
Barryvox App: With the Barryvox Training Park in our Mammut Barryvox App, you can turn your phone into a mobile practice field. The app delivers different burial scenarios for outdoor training. Link your transceivers to the app, bury them, and the app detects probe hits and logs search times – just like a regular training park. Perfect for regular practice, and a great way to complement formal courses.
The complete avalanche safety gear
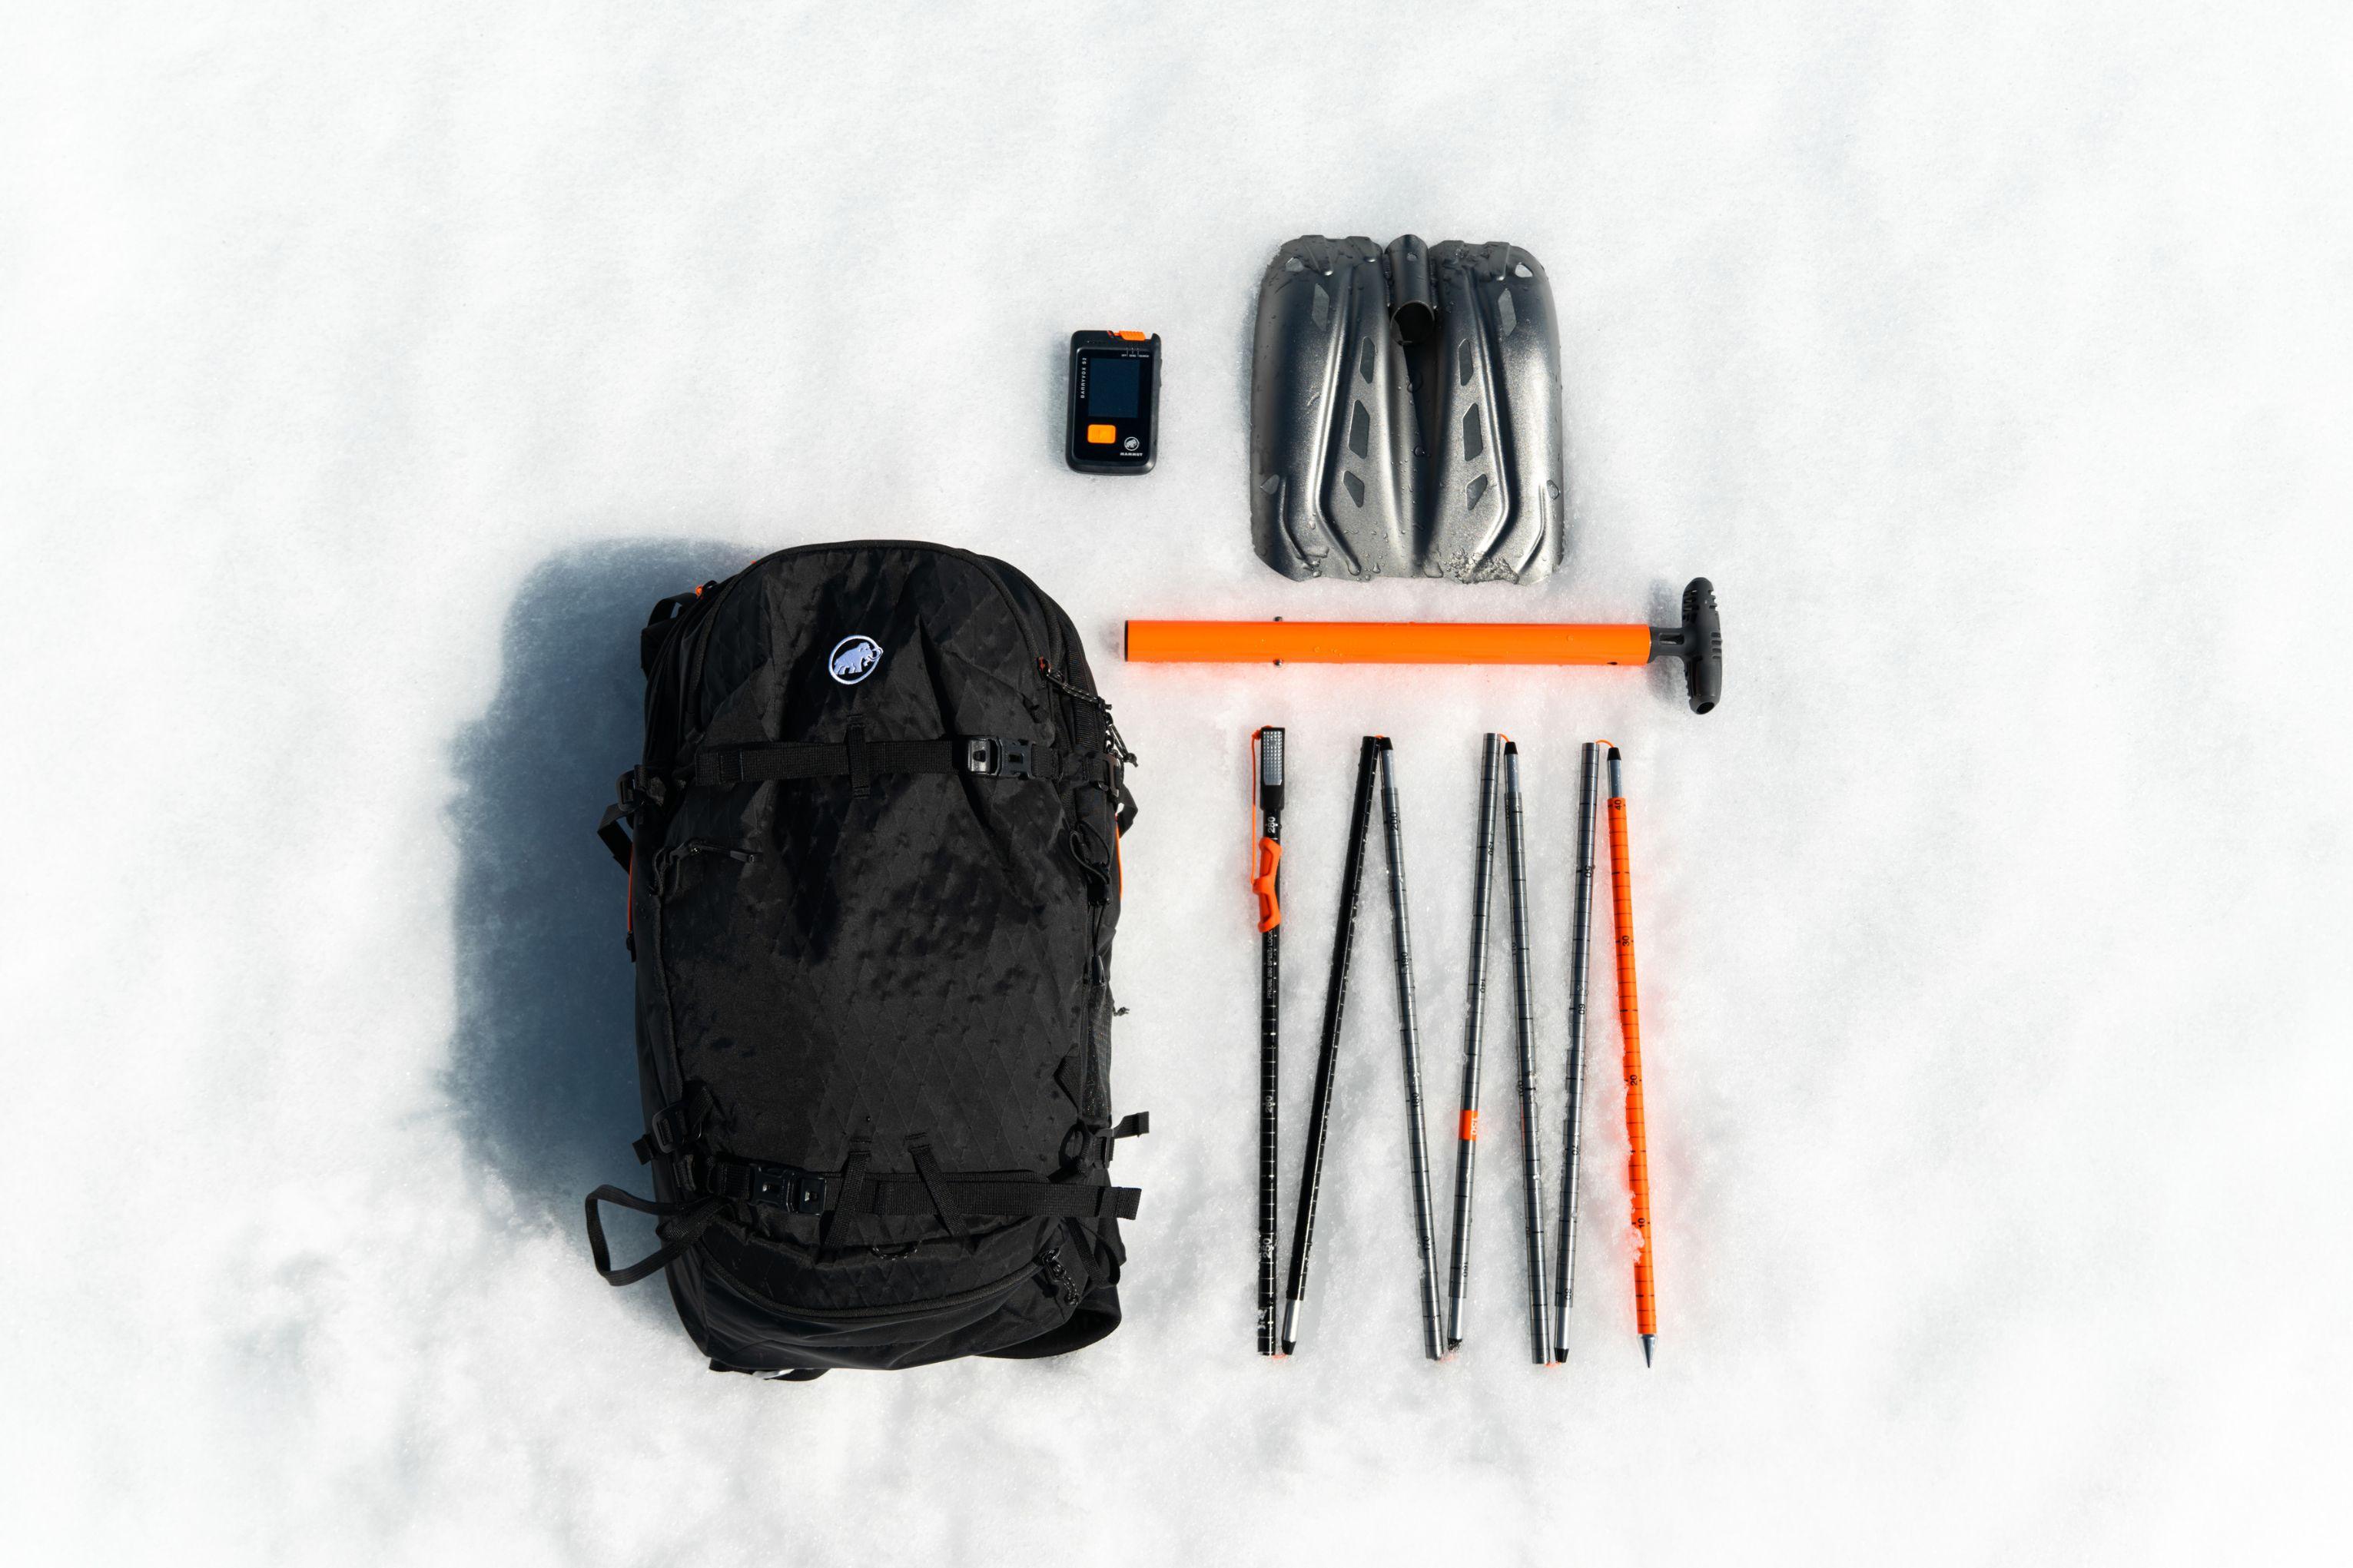
Burial search only works when all components are at hand and ready to use. Your core kit consists of three pieces: the transceiver, the probe, and the shovel. You'll find these in avalanche kits like the Barryvox 1 Tour 280 Package , Barryvox 2 Tour 280 Package , or Barryvox S2 Pro Light 280 Package .
In addition to these three core items, at Mammut we consider the avalanche airbag as part of the Essential 4 of avalanche protection . The Removable Airbag System increases your volume in an emergency and raises the odds of staying afloat when buried in an avalanche.
Important: An airbag backpack provides extra protection, but it is no substitute for your core kit, good judgment, expert knowledge, or regular training.
Check out our dedicated guides for more info on the various components, including how to choose an avalanche transceiver and what makes up an Avalanche Kit .
Frequently Asked Questions About Avalanche Transceiver Training
What is an avalanche transceiver set?
An avalanche transceiver set is a pre-configurated package including a transceiver, probe, and shovel. These three components make up the core gear for everyone moving through avalanche terrain. Mammut offers several packages that differ in performance and weight.
How often should you practice search?
At least once per season, ideally even more frequently. Many backcountry athletes use the start of the season as an opportunity to refresh their skills at a training park or by taking an avalanche rescue course. The Barryvox Training Park in the Mammut Barryvox App turns any terrain into a mobile practice field, so you can train anywhere outdoors whenever it suits you.
Can you practice search alone?
Yes and no. You can practice fine search and probing solo with a buried transmitter. For the full search sequence, signal search and coarse search over a larger field, you need at least one other person to bury the practice device and run through various scenarios with you. As such, group practice is the most realistic.